Inspecting pressure-washer hoses, guns, lances, fittings, and quick connects
Isolate and depressurize the system, inspect the entire high-pressure path, replace unsafe components with compatible parts, and run a controlled leak-free startup.
A pinhole is not a minor leak
Water escaping from a high-pressure hose can penetrate skin through an opening too small to look serious. A fluid-injection injury is a medical emergency because deep tissue damage may be hidden at first. Shut the equipment down, follow the emergency plan, and tell medical personnel that high-pressure injection is suspected. Do not wait for pain or swelling.
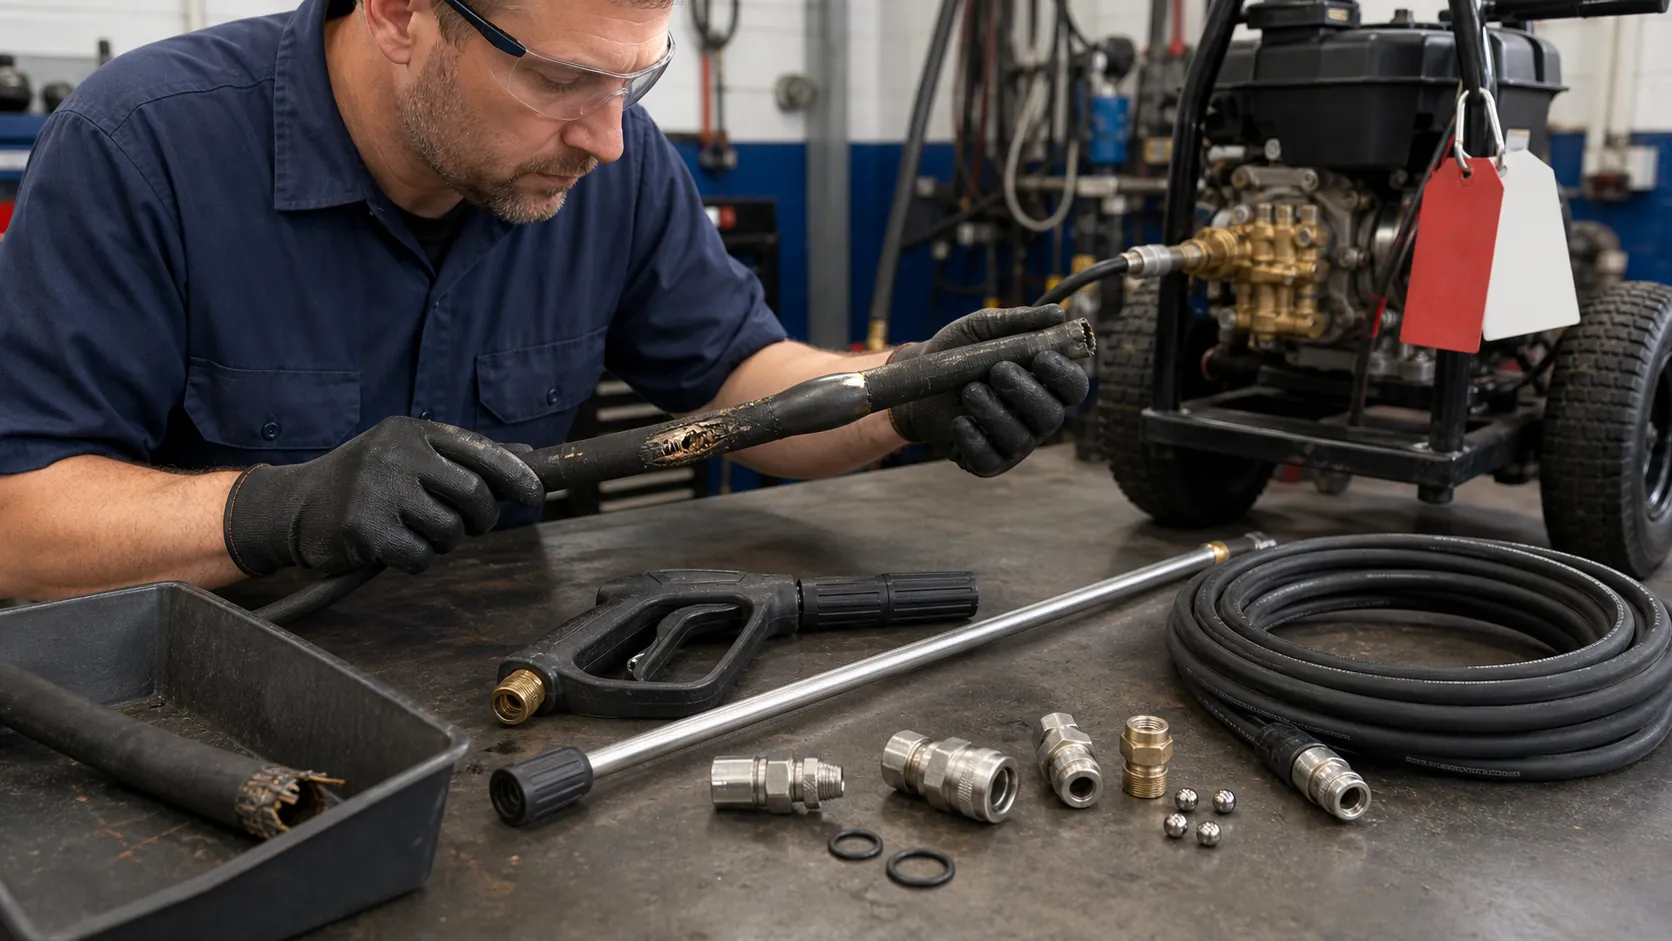
Never locate a pressurized leak with a hand, glove, rag, cardboard, or another body part. The safe inspection begins before the machine starts and covers the whole path from pump outlet to nozzle.
Make zero pressure a verified condition
Follow the pressure-washer and pump manufacturer's shutdown procedure. Turn off the power source, close or isolate the water as directed, secure against unintended restart, allow hot components to cool, point the gun in a safe direction, and operate the trigger as instructed to relieve stored pressure. A gauge reading zero is helpful but does not replace the specified procedure.
Confirm that accumulators, hose reels, hot-water coils, downstream injectors, and other accessories cannot trap pressure. Do not loosen a fitting to bleed the system. If a coupler or trigger remains loaded, stop and correct the isolation rather than forcing it.
Lay out the full high-pressure hose
Uncoil the hose on a clean surface with adequate light. Inspect every section, not just the ends that are easy to see. Wipe away ordinary dirt only after the line is depressurized so defects are visible.
| Observed defect | Why it matters | Disposition |
|---|---|---|
| Cut, crack, pinhole, blister, bubble, or leak | Pressure boundary is breached or separating | Remove the hose from service |
| Abrasion into reinforcement or exposed braid | Load-carrying layers are damaged | Remove from service; do not cover for continued use |
| Crushed, kinked, flattened, or sharply bent section | Reinforcement and flow path may be permanently deformed | Replace unless the manufacturer provides a qualified inspection method |
| Melted, scorched, chemically swollen, or unusually soft cover | Heat or chemistry may have weakened unseen layers | Remove and investigate routing or compatibility |
| Loose end, corrosion, damaged threads, distorted fitting, missing strain relief | End connection can separate or leak under load | Replace the approved assembly or have it serviced by an authorized source |
| Severe cover wear at a reel, corner, or vehicle route | Repeated rubbing will progress into reinforcement | Remove unsafe hose and correct the contact point before replacement |
Do not patch a high-pressure hose with tape, clamps, glue, ordinary barbed fittings, or a field splice not authorized for that exact hose system. A cover that hides exposed braid does not restore reinforcement. Retire the line so another crew cannot mistake it for serviceable equipment.
Check rating and compatibility, not just thread fit
A replacement component must be suitable for the machine's maximum working pressure, temperature, flow, cleaning chemistry, pulse duty, bend radius, and environment. Threads, seats, quick-connect profiles, seal materials, and manufacturer requirements must also match. A fitting that screws in is not necessarily hydraulically or mechanically compatible.
Do not use burst pressure as working pressure. Include pressure spikes and the lowest-rated component in the complete assembly. Hot-water equipment needs hose, gun, seals, and couplers rated for its actual temperature. Downstream chemical service can expose parts to substances that plain-water equipment never sees.
Inspect couplers while they are disconnected
Clean quick-connect plug and socket surfaces by the manufacturer's method. Check the plug groove, nose, O-ring or seal, locking balls, sleeve travel, spring return, corrosion, cracks, distortion, and retained debris. The sleeve should move freely and return fully. Once connected, verify complete engagement by the approved unpressurized check.
Never hold back a leaking sleeve or tie a coupler together. A partly engaged plug can eject when pressure rises. Replace worn seals only with the specified size and material; doubling O-rings or choosing one by appearance can prevent full engagement.
The gun, trigger, lance, and nozzle form one control
- Spray gun: inspect body, inlet, outlet, handle, trigger, guard, safety latch, fasteners, and swivels for cracks, looseness, wear, corrosion, or leakage history.
- Trigger and safety: confirm free movement and automatic return according to the manual. Never wire, tape, or defeat the trigger or latch.
- Lance and extension: inspect for bending, cracks, corrosion, damaged insulation or grips, loose joints, and incompatible accessories.
- Nozzle holder: confirm the nozzle is retained, correctly sized, clean, and undamaged. A missing or oversized nozzle changes system pressure.
- Thermal surfaces: verify guards and grips on hot-water equipment and let components cool before handling.
A leaking gun may need the manufacturer's repair kit or complete replacement. Stop using it until the cause is corrected. Continuing to squeeze harder or hold the trigger at an angle does not make the valve safe.
Route the hose before startup
Keep high-pressure hose away from traffic, sharp edges, hot exhaust, burner surfaces, moving belts, doors, vehicle tires, electrical hazards, and places where it will be pulled around a blind corner. Use rated protection where the job plan calls for it, without trapping heat or creating a tighter bend. Keep enough slack at the gun and machine to avoid loading the fittings.
Place the line where the operator and spotter can see its movement. A hose can appear undamaged at rest and then rub against masonry or a reel guide on every trigger cycle.
Use a controlled startup after any change
- Confirm all guards, fittings, seals, nozzles, and supply components are correctly installed.
- Clear people from the discharge and hose path and point the gun into an approved contained area.
- Establish water flow and purge air by the machine procedure before starting the pump.
- Start at the specified setting and observe from a safe position for abnormal movement, sound, pressure, or leakage.
- Shut down and depressurize before correcting anything. Do not tighten a live fitting.
- Record the replaced part, rating, date, reason, and person who released the equipment.
A professional power-washing operation treats pre-use inspection as production work, not delay. Finding a damaged braid on the ground is far cheaper than discovering it with a hand beside a live pinhole.