Inspecting restored glass: light, distance, residual defects, and acceptance
Agree on inspection conditions before polishing, separate defect detection from acceptance, fix viewing geometry, document residual marks and optical change, and close each pane consistently.
Acceptance is designed before the first abrasive pass
A scratch can disappear under one sky and return when low sun crosses the glass. A polished patch may look clear straight on but bend reflected mullions from an oblique position. If the parties decide how to inspect only after the repair, the brightest flashlight or closest observer tends to set the argument.
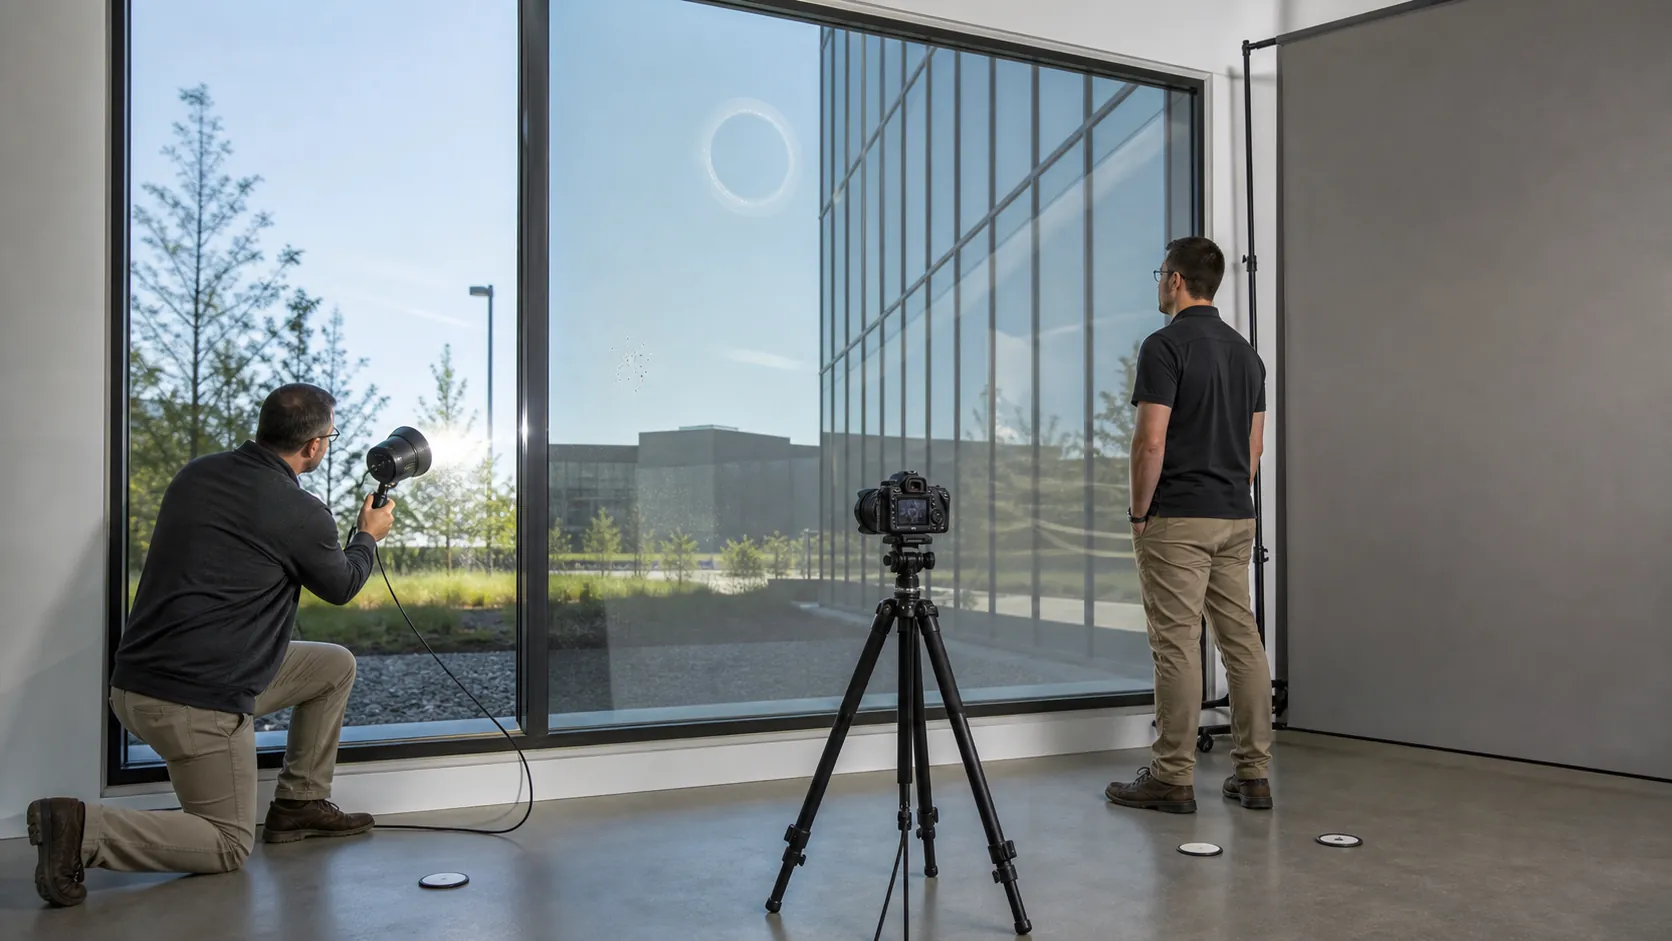
Write the acceptance protocol into the test-panel plan. Identify the pane, original damage, target outcome, permitted residual condition, optical limits, viewing conditions, documentation, and person authorized to accept.
Do not mix detection with acceptance
Raking light and close viewing are useful for finding shallow topography, residue, pits, or a transition edge. They can reveal conditions that are invisible in ordinary use. That makes them diagnostic tools. It does not automatically make every mark found under extreme diagnostic light a failure.
Acceptance should use the conditions named in the project standard or contract. If the team also performs a closer diagnostic pass, label its purpose and record the result separately. This prevents an inspection light from silently replacing the agreed viewing environment.
Prepare the pane without changing it
- Confirm pane ID, elevation, surface number, glass construction, coating, film, and worked area.
- Remove ordinary soil with a non-invasive method compatible with the surface.
- Dry the pane completely, including the perimeter and any runoff above it.
- Control condensation, rain, glare, strong interior reflections, and moving shadows.
- Set the observer, light, backdrop, distance markers, camera position, and scan time.
Do not use acid, a blade, an abrasive pad, or exploratory polishing to make the defect easier to see before it is classified. That would alter the evidence being inspected.
Choose a named viewing protocol
The 2026 GlassRenu Visual Inspection Standard for Architectural Glass Damage Assessment and Restoration uses raking light, clean dry glass, and observations at 12, 36, and 72 inches. It calls for normal viewing plus an oblique sweep across an arc of about 60 to 120 degrees relative to the surface normal. The standard separates close detection from acceptance and describes scan-time guidance by pane area.
Those conditions are specific to that restoration standard. Factory acceptance for new glass, a decorative-glazing guide, a project specification, and an owner's normal viewing position may use different distance, light, angle, or time. Name the governing document instead of borrowing one distance from several standards.
| Inspection layer | Question answered | Record |
|---|---|---|
| Pre-restoration survey | What damage and optical condition already exist? | Pane map, construction, surface, overview, close images, classification |
| Test-panel review | Can the chosen process reduce the defect without unacceptable distortion or artifacts? | Worked area, stages, light, geometry, residual condition, owner decision |
| Production control | Is each pass tracking the accepted sample? | Technician checks, heat and process notes, transitions, stop conditions |
| Final acceptance | Does the dry pane meet the agreed outcome? | Same geometry, result by criterion, fixed photographs, acceptance status |
Inspect more than the original scratch
Restoration can reduce the target damage and introduce another visible condition. Scan the worked zone and a border of unworked glass for:
- remaining lines, pits, craters, chips, or embedded material
- haze, ghosting, halo, ring, or a visible transition edge
- linear, circular, or web-like tool pattern
- sheen, color, reflectance, or coating change
- a lens, wave, magnification change, or bent reflected line
- edge damage, crack growth, seal change, or contamination moved into the frame
Describe the observation rather than calling everything a scratch. A residual pit and optical lens require different decisions. When the condition lies between panes or inside a laminate, surface restoration cannot reach it.
Use straight references for optical change
View reflected and transmitted straight lines already present in the building, such as mullions, ceiling grids, door frames, roof lines, or a controlled grid placed at a documented distance. Compare the test area with adjacent glass from the same marked position. Move through the agreed oblique sweep and watch whether a line bends, grows, shrinks, or jumps at the repair boundary.
Heat-treated glass can have pre-existing roll wave and reflection distortion. Insulating units can show pressure-related movement. Document the original condition before attributing every wave to polishing.
Make photographs repeatable
Take an overview that proves pane location, a middle-distance image that shows the worked region, and a close image for the feature. Record which side of the glass, camera position, distance, angle, lens, light, time, and weather. Use a ruler or other known scale when it does not contact a sensitive surface.
A photograph can miss what the observer sees or exaggerate a reflection. Do not use filters, sharpening, contrast changes, or an unrecorded phone night mode as acceptance evidence. Store original files and note any permitted crop or exposure correction.
Write residual defects into the decision
Some deep damage cannot be removed completely without excessive material removal or optical change. The test panel should establish whether the project prefers a faint residual feature, a larger full-field treatment, replacement, or no work. Record the exact tradeoff while everyone can see the sample.
Use criterion-level results rather than one vague check box. For example: target scratches not visible at the required positions; no transition ring; no new coating anomaly; optical comparison accepted; edge unchanged; residual pits documented. The authorized reviewer should accept, reject, or place a pane on a defined corrective path.
Close with the same conditions used to start
Final inspection happens after the pane is clean, dry, cool, and free of masking or polishing residue. Repeat the agreed light, distances, angles, positions, and scan time. Attach the before, test, and after record to the pane ID.
A professional glass-restoration inspection does not promise that every microscopic feature vanishes. It proves that the agreed visible damage was addressed without trading it for an unrecorded optical or surface defect.