What acid damage does to glass and when polishing can help
Separate chemical residue from altered glass, identify the source and glazing surface, use a controlled restoration test, and recognize damage that should not be polished in place.
Rinsing away the chemical does not undo the reaction
Acid on a window can leave two very different problems. One is material still sitting on the surface. The other is a surface that the chemical has already changed. Residue may respond to a compatible decontamination procedure. Etched or chemically attacked glass stays dull after the source is gone because the original surface is no longer intact.
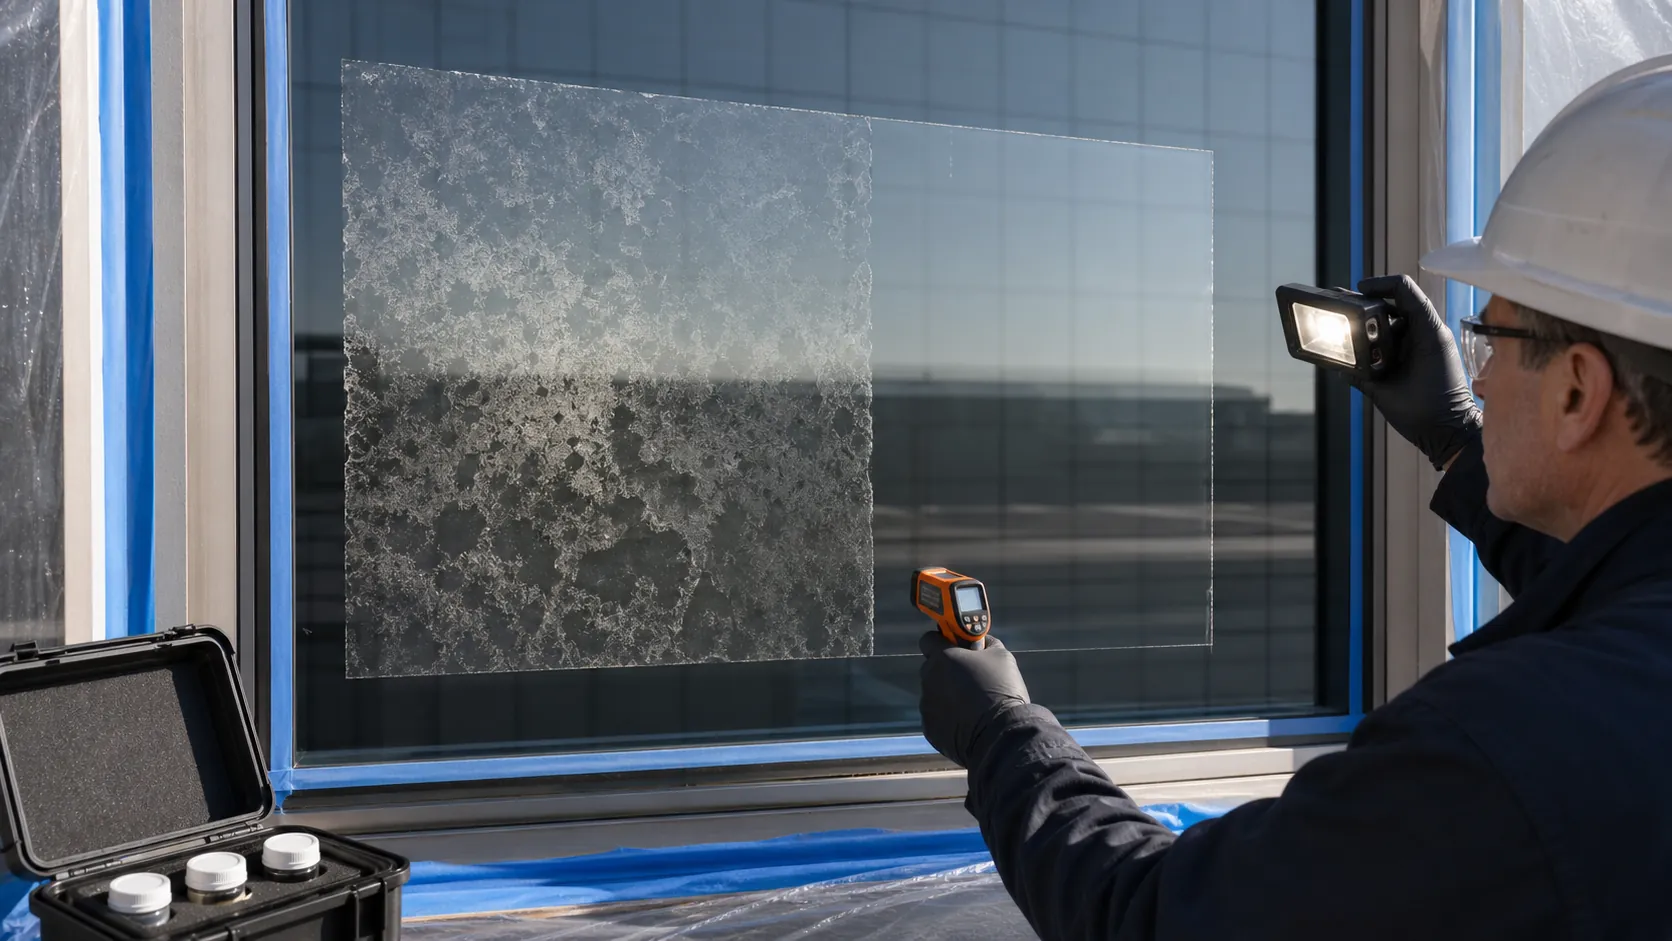
That distinction matters before anyone reaches for more acid, an abrasive pad, or a polishing machine. Hydrofluoric acid and products that contain fluoride species are especially dangerous because they can attack glass and present a severe exposure hazard. Other acidic materials may harm coatings, films, metal, stone, gaskets, or sealants even when their effect on a particular glass surface differs.
Make the area chemically safe first
Do not begin restoration while an unknown active chemical remains. Isolate the area, identify the product from its label and safety data sheet, and follow the chemical manufacturer's spill, neutralization, personal protective equipment, and disposal instructions. If the material cannot be identified, route it through the site's hazardous-material procedure rather than inventing a neutralizing recipe.
Protect people below and adjacent materials. Runoff from a window can carry the chemical onto metal panels, stone, landscaping, sealants, and lower glazing. Collect it as required instead of washing it into another surface. A restoration contractor should receive the incident record, product name, concentration if known, contact time, prior rinsing, and photographs.
Confirm which surface was attacked
Architectural glass can contain heat-treated lites, laminated layers, insulating cavities, low-emissivity coatings, ceramic frit, mirrors, and applied films. The exposed weather face of one product may tolerate a process that would destroy another exposed coating. Obtain the glass make-up and coating-surface information from drawings, labels, manufacturer records, or a glazing professional.
Inspect both accessible sides after the assembly is dry. Use broad light and raking light, then change viewing angle and distance. Mark the apparent boundary on a nearby approved frame surface, not on a sensitive coating. If haze lies between insulating panes, polishing an exterior face cannot reach it.
Read the damage pattern
| Observed condition | What it may indicate | Next useful check |
|---|---|---|
| Drip or splash shape with a sharp edge | Localized chemical contact or runoff | Trace the path upward and compare protected versus exposed areas |
| Cloudiness that changes while wet but returns dry | Light scattering from surface alteration | Inspect a fully dry, cleaned control area under raking light |
| Chalky or crystalline material that transfers to a cloth | Remaining residue, reaction product, or adjacent-material runoff | Identify it before selecting decontamination chemistry |
| Rainbow color, peeling, or a distinct film edge | Damage to an applied film or exposed coating | Confirm the product and surface number; do not polish blindly |
| Fine roughness, pits, or a frosted field | Loss of glass surface at varying depth | Map depth and uniformity through a small restoration test |
| Crack, edge chip, or damage near a hole or notch | Possible strength concern, not merely an optical defect | Stop work and obtain glazing or engineering review |
Do not use a fingernail, razor blade, or concentrated acid as an improvised depth test. The test itself can scratch a coating, spread contamination, or deepen the affected region.
What mechanical restoration actually does
A glass-restoration system does not refill an etched surface. It removes and refines surrounding glass until the damaged texture no longer scatters light at an objectionable level. That means glass stock is removed. The technician must control the working area, abrasive sequence, temperature, edge distance, cleanliness, and viewing quality throughout the process.
Light, reasonably uniform surface alteration on a confirmed restorable face may respond well. A small representative test should establish four things before expansion: the defect can be reduced, the surface remains optically acceptable, heat stays within the system's limits, and the required labor does not exceed sensible replacement cost.
The test should include the boundary of the damaged area, not only its easiest center. Inspect it dry from normal occupied viewpoints and in the light that originally revealed the problem. A patch that looks clear head-on can still show a lens, ripple, haze, or polish transition at an angle.
Conditions that change the decision
- Deep or uneven attack: removing enough stock may create visible optical distortion before the deepest texture disappears.
- Exposed coating or film: polishing may remove or permanently alter it. Confirm the actual surface before testing.
- Heat-treated glass: existing roller wave, anisotropy, surface compression, and fabrication condition complicate appearance and risk assessment.
- Edges, holes, notches, chips, and cracks: these are stress-sensitive locations and require glazing review.
- Doors, guardrails, overhead or sloped glazing: safety function and consequence of failure weigh more heavily than cosmetic salvage.
- Large patterned fields: an acceptable spot repair may become optically inconsistent when expanded across a facade.
Replacement is not an admission that restoration failed. It may be the correct response when the affected surface carries a coating, the damage threatens the assembly, documentation is missing, or the optical result would not meet the agreed viewing standard.
Find and stop the source
Restoring the pane while leaving the source in place guarantees a repeat incident. Common paths include masonry cleaning, concrete treatment, metal-cleaning runoff, industrial exhaust, leaking containers, and inappropriate spot cleaners. Trace the pattern upward and outward. Review work sequencing, masking, rinse collection, and responsibility for adjacent trades.
After a successful glass-restoration assessment, record the glass location, surface identification, incident history, test area, process used, temperature observations, viewing conditions, and final acceptance. That record gives the next maintenance crew something better than a vague instruction to use stronger cleaner.