Silicone haze and sealant residue: cleaning, restoration, and scratch risk
Classify uncured smear, cured residue, rundown, tooling film, surface damage, and the working joint separately, then test a compatible removal method without cutting the seal or scratching glass.
Silicone haze is a description, not a material identification
A greasy rainbow smear near a glazing joint may be uncured sealant, tooling lubricant, plasticizer-like rundown, transferred silicone oil, adhesive, or ordinary cleaning residue. A pale field farther from the joint may be fine scratches, coating damage, mineral deposit, or glass corrosion. Several conditions can sit on the same pane.
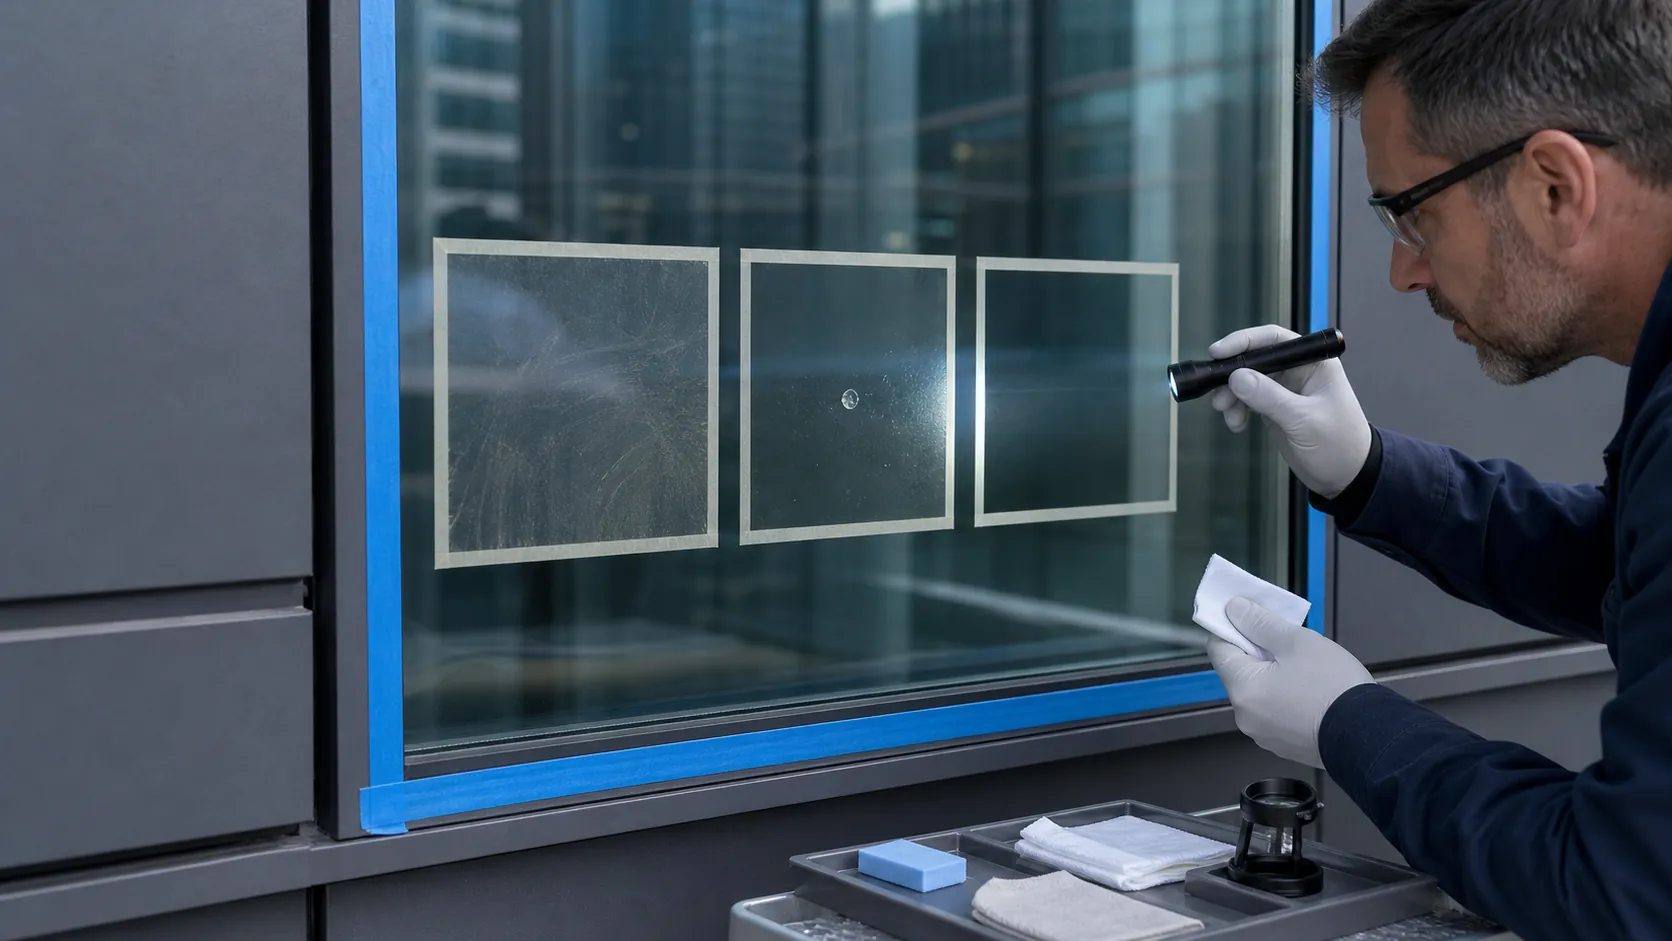
Calling all of it silicone encourages one solvent or one blade across the whole area. That can spread an oily film, soften adjacent materials, remove a coating, cut a weather seal, or trap grit beneath a scraper.
Do not turn cleaning into deglazing
Perimeter and structural silicone joints can retain glass or keep water and air out of the facade. Their size, adhesion, bite, continuity, and cured surface are functional. Do not trim a bead, peel an edge, insert a tool into the joint, or wipe it with an unknown solvent as part of surface cleaning.
If a joint is torn, open, uncured, displaced, contaminated through its depth, losing adhesion, or releasing repeated rundown, document it for the glazing or sealant contractor. The sealant manufacturer and project glazing records should guide compatibility and repair. A cleaner can remove residue from an approved surface; it cannot certify or rebuild the joint.
Map the condition before touching it
Use broad daylight and raking light on a dry pane. Mark boundaries on a nearby approved frame surface or diagram. Record which way streaks run, whether they begin at a joint, and whether the appearance changes with angle. Inspect both accessible faces.
| Appearance | Possible condition | Useful distinction |
|---|---|---|
| Soft smear that strings or transfers | Uncured or partly cured sealant, lubricant, or adhesive | Active material may spread; isolate and identify before wiping |
| Raised elastic bead or droplet | Cured sealant on the glass field | Removal is mechanical or product-specific and must not disturb the actual joint |
| Oily rainbow film that reappears after ordinary cleaning | Silicone transfer, rundown, tooling residue, or incompatible cleaner | Water may bead differently across the affected field |
| Gray haze with fine directional lines | Scratches caused during prior residue removal | Does not transfer to a cloth and is strongest in raking light |
| Color or reflectance change with a clear boundary | Exposed coating or film damage | Surface removal may enlarge the permanent difference |
| White or iridescent rough region below runoff | Mineral or chemical residue, or altered glass | Identify the source and remove deposits before evaluating restoration |
A clean cloth test can show transfer, but it does not identify the chemistry. Some specialty glass-cleaning products are designed to make silicone residue more visible; that is a diagnostic aid for their stated substrates, not proof that the same product belongs on every facade.
Identify every material in the test area
Obtain the glass make-up, heat treatment, exposed coating surface, applied film, frit, sealant product, gasket, frame finish, and nearby stone or metal information. Find out when the sealant was installed, whether it was fully cured, what tooling or masking materials were used, and what cleaners have already touched the pane.
Sealants with different chemistries and cure systems do not share one residue-removal procedure. Even a manufacturer's named solvent may be intended for uncured product on tools or for substrate preparation before sealing, not for cured residue on an installed coated window. Read the exact product data sheet and ask technical service when the use is unclear.
Begin with the routine glass procedure
Protect the joint and adjacent finishes. Use the glass manufacturer's approved mild, nonabrasive method on a small area, with clean solution, soft applicator, and full extraction. Let it dry and compare the water behavior and optical appearance with an unaffected control.
If ordinary soil leaves and the haze stays, stop repeating the same wipe with loaded towels. A cloth can carry silicone across the pane. Use fresh tools for each test and keep contaminated wipes separate.
Plan a non-routine test in writing
NGA recognizes that tenacious post-construction contamination may lead contractors to blades, chemical cleaning, or mechanical polishing, but these are non-routine methods with a risk of irreparable damage. Agree on the responsible party, test location, glass identification, acceptance view, adjacent protection, and stop conditions before proceeding.
The selected method should come from the sealant or residue manufacturer and the glass or coating manufacturer. Control:
- product and concentration;
- application tool and whether the surface is wet or dry;
- contact time and temperature;
- direction and amount of mechanical action;
- runoff collection and ventilation;
- final rinse or wipe sequence;
- inspection after complete drying.
Do not mix solvents or cleaners. Keep ignition sources away from flammable products and vapors. Protect workers and occupants according to the safety data sheet and site plan.
Why a blade can create a haze of its own
A raised cured droplet can tempt an operator to shave the pane. On an unknown surface, the blade may cut an exposed coating or applied film. On any glass, grit caught beneath it can produce a fan of fine scratches. Repeated back-and-forth scraping increases the chance that a released particle travels under the edge.
If a blade is accepted by all applicable manufacturers for a verified limited area, the procedure still needs clean wet conditions, a suitable new blade, controlled direction, and inspection. That permission does not transfer to the rest of the building or to another glass make-up.
When the remaining haze is in the surface
After identified residue is gone, inspect dry under the same light that revealed the problem. Fine scratches, etched glass, and some bare-glass surface alterations may be candidates for a controlled glass-restoration test. Polishing removes glass stock and must be evaluated for heat, depth, optics, edges, and coatings.
Polishing cannot replace an exposed coating, remove damage between insulating panes, or repair a sealant joint. A hydrophobic patch may also indicate remaining transfer rather than glass damage, so confirm that decontamination is complete before abrading.
Close the job at the source
Record the sealant and glass products, pane and surface number, condition map, successful test, rejected methods, joint referral, and dry acceptance photographs. Correct application, masking, tooling, or protection practices before more sealant work occurs above finished glazing.
The cleanest outcome may include two scopes: a glazing contractor responsible for the joint and a cleaning or restoration contractor responsible for the approved glass field. Keeping those scopes separate protects the facade and makes the warranty trail understandable.