Old protective film and baked-on adhesive: when removal becomes restoration
Identify the film and glass, assess age, heat, coatings, edges, and attachment systems, test a product-specific low-angle removal, control adhesive and solvent hazards, and inspect the bare surface before restoration.
The same clear sheet can be temporary protection or part of the glazing system
A film on glass may be factory transit protection, temporary construction masking, a printed graphic, solar-control film, decorative film, anti-graffiti sacrificial layer, or safety and security film. Some attachment systems also use a perimeter sealant. Removing an unidentified sheet can void a warranty, damage a coating, release a heavy layer of glass protection, or expose a pane that was already scratched.
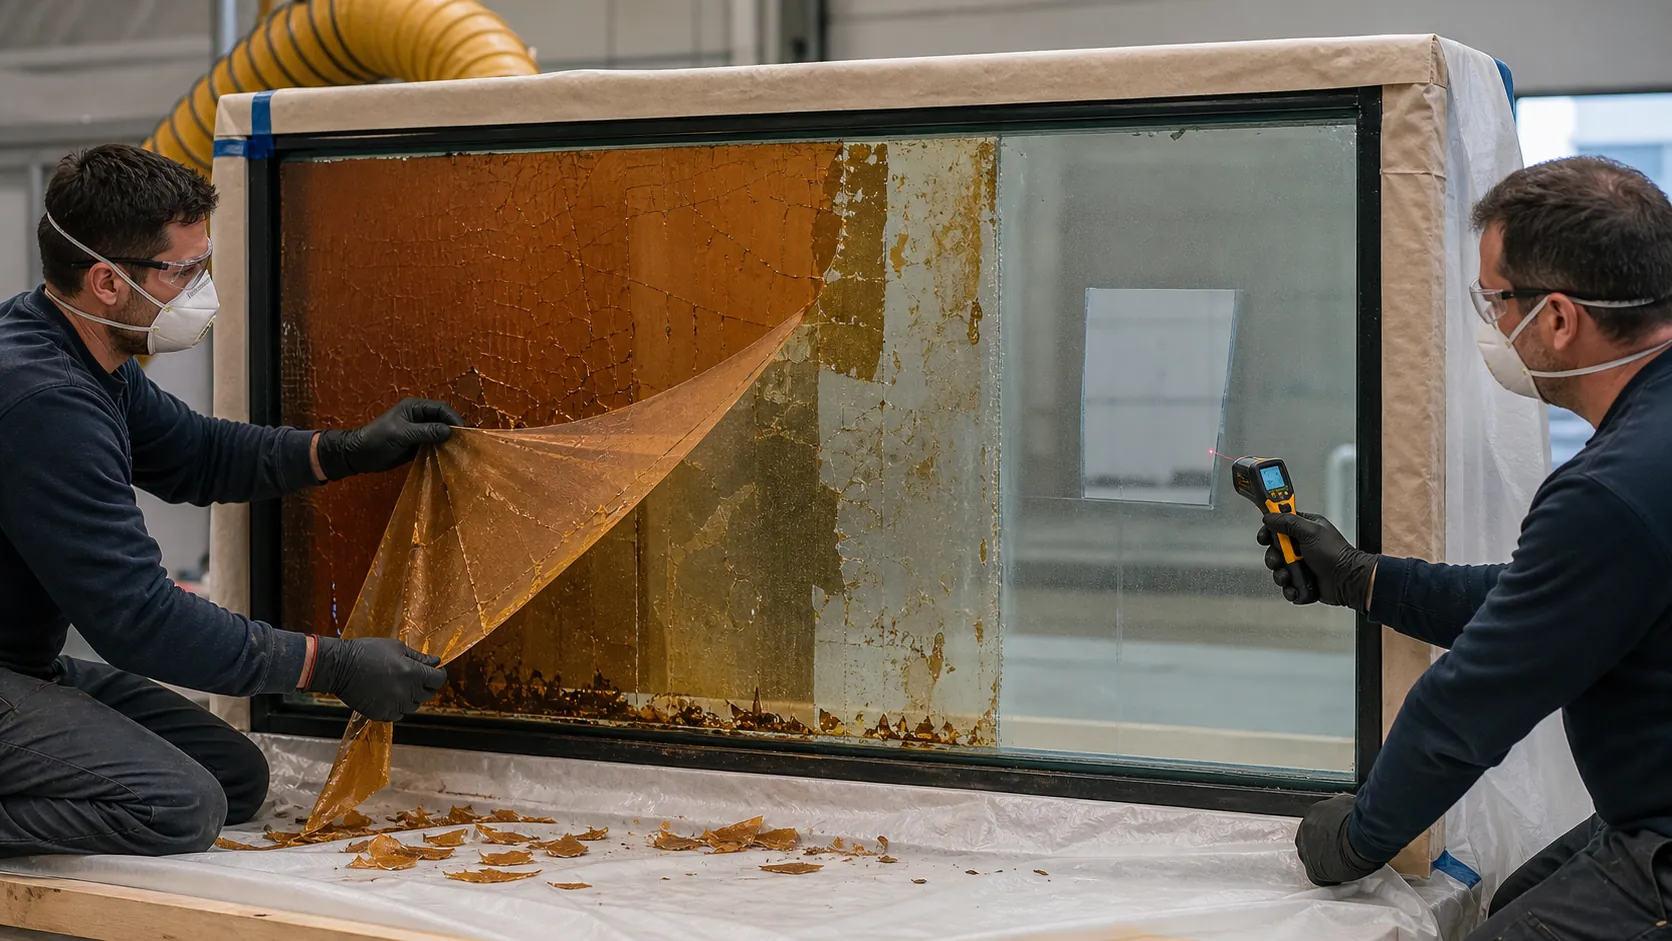
NGA warns that temporary protective films left beyond the manufacturer's removal date may require aggressive methods. That does not mean the glass automatically tolerates those methods. It means the removal needs product identification, a controlled test, and agreed responsibility.
Identify the film before lifting a corner
Search purchase records, construction submittals, installer labels, warranty documents, pane markings, and maintenance history. Ask who installed it, when, on which face, and why. Record whether an attachment sealant or edge sealer is present.
| Film type | Clues | Removal concern |
|---|---|---|
| Temporary construction protection | Applied during building work, intended removal date, exposed edges, printed protective liner history | UV and heat can embrittle the face and age the adhesive past its intended window |
| Solar or decorative film | Uniform tint, reflectance, pattern, installer warranty, small perimeter gap | Glass compatibility, thermal history, adhesive transfer, and replacement appearance |
| Safety or security film | Thicker material, documented retention purpose, possible perimeter attachment | It may be part of a hazard-mitigation system; qualified removal and glass containment are required |
| Anti-graffiti or surface-protection layer | Designed as a replaceable exposed sacrificial film | Verify layers so only the intended sheet is removed |
| Printed or perforated graphic | Ink, holes, overlaminate, edge sealer, seams | Uneven solar heating, brittle print layers, adhesive and sealer residue |
| Factory protective layer or low-maintenance glass feature | Tied to a specific window product and delivery or commissioning step | Do not confuse a removable shipping layer with a permanent exposed coating |
If identity cannot be confirmed, treat the removal as an investigative project. A small isolated test and consultation with film, window, and glass manufacturers are cheaper than discovering that a functional coating was scraped away.
Assess the glass and surroundings
Determine whether the lite is annealed, heat-strengthened, tempered, laminated, insulating, coated, fritted, wired, patterned, cracked, chipped, or part of a door or guard. Identify the surface number and whether film is inside or outside. Inspect edges, holes, notches, sealants, gaskets, frames, and nearby finishes.
Document existing haze, scratches, thermal cracks, edge chips, coating variation, and between-pane conditions under broad and raking light. Film can conceal damage. When the bare glass appears, the removal contractor should not automatically inherit every condition beneath it.
Plan the work area for falling film, sharp fragments, glass breakage, vapors, wet floors, occupants, alarms, HVAC intakes, ignition sources, and disposal. Large sheets need controlled handling so they do not swing, stick to finishes, or pull the worker off balance.
Use the actual manufacturer's removal procedure
Film products differ. One manufacturer may call for slow low-angle peeling under warm conditions. Another may permit controlled heat, steam, scoring, or a named adhesive remover. Security film and attachment systems may require an authorized dealer. Follow the bulletin for the verified product and current conditions.
Avery Dennison guidance illustrates several boundaries: slow removal at a low angle can reduce film breakage and adhesive transfer, local overheating must be avoided, and chemical removal requires substrate testing and safety precautions. Those instructions belong to the specified products, not every unknown film.
Make a representative test strip
- Choose a small area that includes an edge and a typical sun-exposed region.
- Protect frame, gasket, joint, floor, and occupants.
- Record glass and ambient temperature before starting if heat is part of the approved method.
- Lift the corner only with the product-approved tool and technique.
- Peel at the prescribed angle, direction, speed, and temperature while supporting the sheet.
- Measure how much face film fractures and how much adhesive remains.
- Remove residue in a smaller subtest by the named compatible method.
- Clean, dry, and inspect the exposed glass under the agreed light.
Test results should include production rate and waste volume. A square foot that peels cleanly does not represent a pane whose center has baked in direct sun for ten years.
Heat can help the adhesive and harm the assembly
Controlled warming may soften some adhesives, but glass temperature and distribution matter. Local overheating can create thermal stress, damage a coating, soften a gasket, alter a laminated edge, or release vapors. Do not use open flame. Do not place a heat gun, lamp, steamer, or electrical equipment near a flammable solvent or vapor cloud.
Move the approved heat source continuously as directed, monitor the surface, and stop for a hot spot, crack sound, edge concern, frame change, or unexpected odor. Direct sun adds uncontrolled heat and can change the removal while work is underway.
Adhesive removal is a separate operation
After the face film comes away, the adhesive may remain as a uniform tacky layer, islands, hard amber patches, or powder. Keep removed film and adhesive from recontacting the glass. Change tools frequently.
Use only a remover accepted for the identified adhesive, glass surface, coating, film remnants, frame, gasket, sealant, and nearby materials. Review safety data sheet, ventilation, ignition control, personal protection, dwell, collection, and disposal. Do not mix removers or flood insulating-glass edges.
A blade named in a film bulletin may be suitable for that verified bare-glass application, yet unsafe on another coated or heat-treated surface. If a blade is accepted, control lubrication, direction, cleanliness, pressure, and test scope. Cutting film while it remains on the pane can also score the glass beneath.
Know when the plan is failing
- film breaks into fragments too small to control;
- glass or edge temperature becomes uneven or exceeds the product plan;
- a crack, chip, coating change, or delamination appears;
- adhesive smears faster than it is collected;
- solvent affects frame, gasket, sealant, paint, or occupant air;
- a perimeter attachment system is discovered;
- production rate makes the intended method impractical for the full facade.
Stop and revise the scope rather than escalating heat, blade pressure, or solvent strength by intuition.
Inspect the glass only after it is bare and dry
Adhesive can fill scratches optically and make a damaged area look smooth. Solvent residue can create temporary haze. Clean by the approved glass procedure, let the pane dry fully, and inspect from normal positions with broad and raking light.
Classify what remains: surface adhesive, fine scratches, coating loss, chemical haze, pits, thermal crack, laminated-edge change, or between-pane condition. Only some bare-glass scratches and surface alterations may respond to a glass-restoration test. Polishing does not restore film, coating, attachment function, or damaged interlayer.
Leave a removal record
Record film identity, age, surface, test strip, approved method, temperature observations, chemical lot, waste handling, glass condition before and after, and any glazing referral. If new film will be installed, its dealer must evaluate the now-exposed glass and residue condition for compatibility.
The project is complete when the old system is safely removed, the underlying surface is understood, and the next glazing decision is supported by evidence. A clear-looking wet pane halfway through adhesive removal is not that endpoint.