Why squeegees leave lines, chatter, and haze
Diagnose blade-edge defects, grit, dry glass, angle, pressure, overlap, dirty solution, edge water, detergent residue, and defects that are not squeegee problems.
Read the mark before changing the soap
A squeegee can leave several marks that look similar while the glass is wet. One fine line often follows a single point on the rubber. Chatter produces a repeating skip pattern. Haze appears after drying and may have nothing to do with the rubber edge. Treat the dry pattern as evidence instead of changing every variable at once.
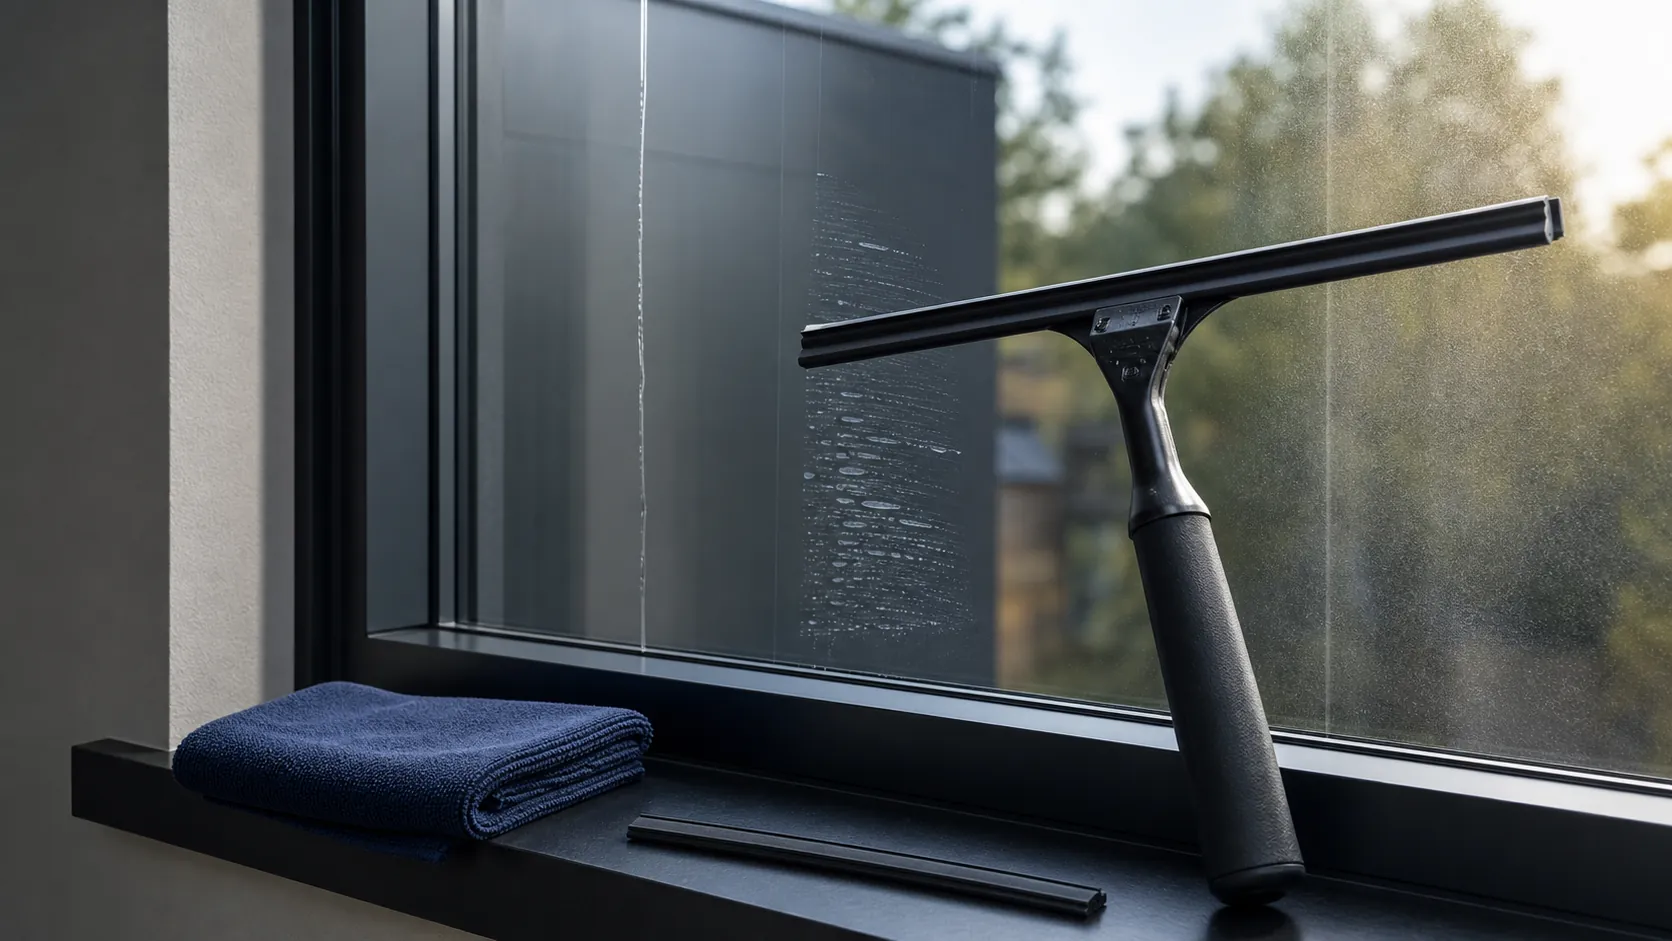
First establish a clean baseline
Confirm the exposed surface is compatible with routine wet cleaning. Remove loose grit with generous solution and a clean applicator. Use fresh water, the measured amount of compatible detergent, a clean bucket, and a straight channel with correctly fitted rubber. The working edge should be sharp, even, clean, and free of cuts.
Inspect rubber under side light. Feel it carefully with a gloved finger, without dragging across the edge. A rounded corner, nick, hardened section, wave, or trapped grain can leave a repeatable trail. Turn or replace the blade according to its design. If a new edge produces the same mark at a different position on the channel, look beyond the rubber.
A line that follows one point
Make one controlled straight pull and note where the line begins. Clean the rubber, wet the pane again, and repeat. If the line returns at the same position relative to the tool, inspect that section for grit or damage. If it stays at the same location on the window, inspect the glass, film, coating, frame edge, and any raised contamination there.
Do not keep working a grain across the pane. Rinse the applicator, rubber, and solution when construction dust, sand, or deteriorated sealant appears. A clean blade cannot compensate for dirty water delivered back to it every stroke.
Chatter is a loss of smooth glide
Chatter appears when the rubber alternately grips and releases. Common contributors include a pane that has become too dry, insufficient compatible detergent, excessive hand pressure, a poor blade angle, cold or hardened rubber, a channel that flexes, and an abrupt frame interruption.
- Re-wet the full path so the blade never crosses a dry island.
- Relax force. The rubber needs controlled contact, not crushing pressure.
- Set the handle so the blade trails smoothly instead of standing upright or folding over.
- Shorten the stroke or use a channel that fits the pane and frame geometry.
- Test a sound rubber edge appropriate for the working temperature.
Change one item, repeat one stroke, and inspect. Randomly adding detergent can replace chatter with a residue problem.
Lines between passes often belong to overlap
Each new stroke should overlap the wet edge of the prior one. Too little overlap leaves an untouched seam. Too much can repeatedly drag water into a finished area. Keep the leading corner slightly ahead and maintain a consistent path. On straight pulls, wipe the blade between passes when soil or edge water accumulates.
For fanning, the upper working corner remains near the dry boundary while the lower edge carries solution toward the unfinished glass. A sudden wrist change can lift a corner and leave a crescent. Practice on a known clear pane before diagnosing specialty glazing.
Edge runs appear after the tool has moved on
Water stored in a top gasket, glazing bead, mullion, muntin, or side channel can release after the pane looks finished. Before the final pass, clear the top and side wet zones with a clean detail cloth or controlled dry edge. Keep the cloth away from the broad glass so it does not spread lint or fabric treatment.
Use separate clean cloth faces for frames, dirty sills, and glass edges. A towel that touched an oily track should not detail the pane. Do not drive water into wood joints, open glazing pockets, failed seals, or hardware.
Haze requires a different test
| Dry appearance | Possible source | Test |
|---|---|---|
| Uniform gray or rainbow film | Too much detergent, incomplete removal, contaminated water | Clean a small area with fresh measured solution and a clean tool set |
| Smears at the perimeter | Detail cloth, frame soil, fabric softener, edge water | Use a fresh lint-free cloth only on one edge |
| Clouding that does not change when re-wet | Mineral reaction, coating change, fine scratching, internal moisture | Inspect both faces and the sealed cavity in dry raking light |
| Patch matching a prior sticker or product | Adhesive, silicone, solvent residue, changed surface energy | Identify the contaminant before selecting chemistry |
More squeegee strokes do not repair a failed insulating seal or coating. If the haze sits between panes, changes color with viewing angle, or remains after a controlled routine-cleaning test, document it and stop escalating.
A short diagnostic routine
- Inspect the dry pane and photograph the pattern.
- Clean rubber, channel, applicator, bucket, and solution.
- Make one straight, fully lubricated test stroke.
- Determine whether the mark follows the tool or the glass.
- Change one variable: rubber, angle, pressure, overlap, solution, or edge detailing.
- Let the test dry before deciding it worked.
Consistent window cleaning comes from controlling small contact points. The fastest diagnosis is usually the one that preserves the pattern long enough to understand it.