
Removing labels, tape, and old adhesive from glass
Identify the glass and adhesive, remove the face material at a controlled low angle, test residue separately, protect coatings and frame materials, and inspect the dry pane before escalating tools or solvents.
The label face and the adhesive are two jobs
A paper shipping label may split and leave fibers. Plastic tape may peel cleanly but leave a narrow adhesive edge. Temporary protection can become brittle after sun exposure. A security, solar, decorative, or safety film may be part of the glazing system and should not be treated as a label at all.
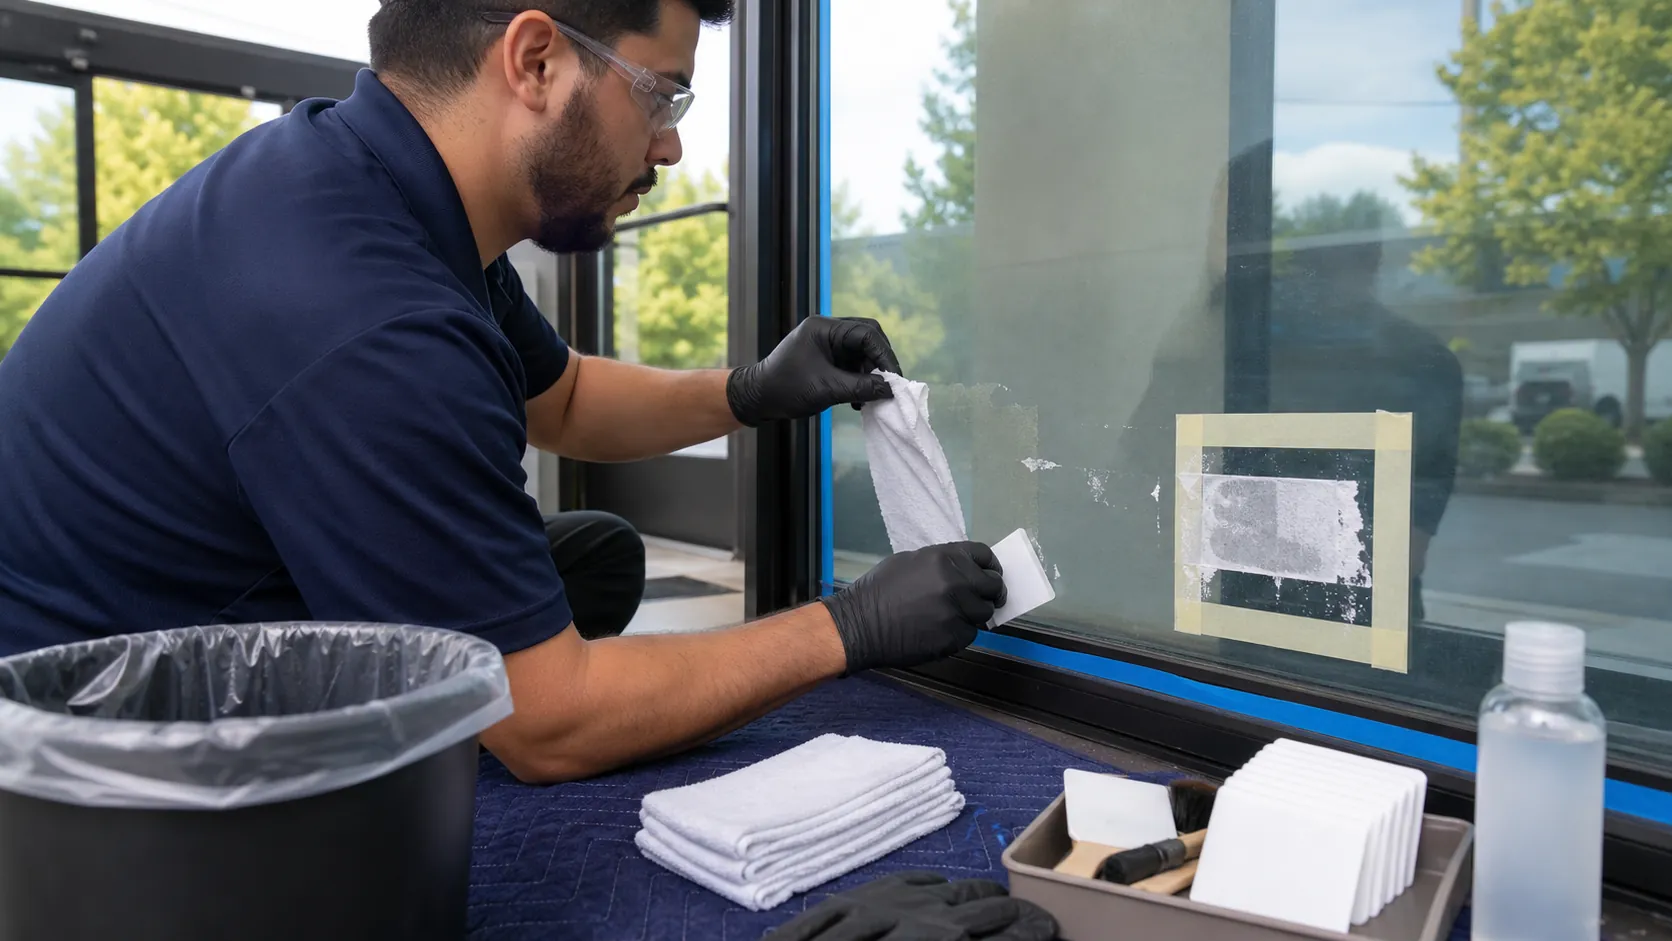
Before reaching for a blade or solvent, identify what is attached, why it is there, how long it has aged, and which glass surface is beneath it.
Confirm that the material is meant to come off
- look for purchase records, window labels, installer notes, film warranty, safety markings, and construction schedule;
- determine whether it is a product label, masking tape, graphic, bird-safety marker, temporary protective film, low-emissivity label, or permanent functional film;
- record the installation face and whether the glass has an exposed low-maintenance, reflective, or other coating;
- inspect the frame, gasket, sealant, laminate edge, insulating-glass spacer, tint, paint, and adjacent finish;
- document scratches, haze, chips, coating variation, and adhesive already present.
If identity is uncertain, leave the material in place until the window, glass, or film manufacturer confirms the procedure. Removing the wrong transparent layer can destroy a functional product.
Read the way it fails
| Behavior | What it suggests | First adjustment |
|---|---|---|
| Paper tears while adhesive stays | Face has weakened or absorbed moisture | Soften the paper by an approved wet method, then lift bulk fibers |
| Plastic stretches and narrows | Face is warm or adhesive bond exceeds film strength | Reduce pull speed, support the strip, and use product-approved temperature |
| Film fractures into flakes | UV and age have embrittled the face | Stop routine removal and develop a controlled project test |
| Adhesive transfers as a tacky sheet | Face releases before the adhesive | Collect film, then make a separate remover test |
| Amber hard islands remain | Adhesive has aged, oxidized, or attracted soil | Verify product and surface before chemistry or mechanical action |
Make a small edge test
- Choose a corner that includes representative sun exposure without starting on a critical logo or sightline.
- Protect sill, frame, gasket, floor, occupant area, and nearby open flame or ignition source.
- Clean loose grit around the label so it cannot be dragged beneath the tool.
- Use a fingernail or clean plastic tool only where the manufacturer permits it.
- Peel slowly at the specified low angle while supporting the face close to the release line.
- Record tearing, adhesive transfer, coating response, static, production rate, and waste.
- Stop before enlarging the test if glass, coating, film, gasket, paint, or sealant changes.
Andersen, for example, instructs owners of its specified protective film to peel slowly, allows a clean plastic scraper as needed, and prohibits razor blades on its glass. Those are product instructions, not a universal declaration about every glass surface.
Use moisture only when the face and assembly allow it
Water with mild compatible cleaner can soften many paper labels and routine adhesive soils. Keep liquid away from vulnerable laminated edges, insulating-glass seals, electronics, porous frames, and interior finishes. Do not flood a label merely because the exposed glass tolerates water.
Some tapes and films repel water. Extended soaking then adds runoff without reaching the adhesive. Follow the material bulletin or move to a small compatible remover test rather than increasing volume.
Treat residue with the named compatible remover
A product advertised for use on glass is not automatically safe for every coating, tint, film, sealant, gasket, frame, paint, or laminate. Review label and safety data sheet. Check ventilation, personal protection, flammability, ignition control, application, dwell, collection, and disposal.
Apply to a bounded residue area, not the whole pane. Keep it wet only for the specified time, agitate with the approved nonabrasive tool, and capture dissolved adhesive before it migrates. Use fresh towels so removed adhesive is not smeared back into a thin haze.
Do not mix removers or add heat near flammable vapor. Local heating can also create glass temperature differences, soften gaskets, or damage films. Open flame has no place in this work.
A blade is a glass-specific decision
NGA notes that aggressive nonroutine cleaning carries risk and should follow communication among responsible parties. Window and coating manufacturers may prohibit blades outright. Heat-treated glass can contain fabrication debris that becomes a scratch source when a blade crosses it.
If the verified product instructions allow a blade on verified bare glass, the test must still control lubrication, blade condition, direction, pressure, surface cleanliness, and lighting. Never use a chipped, rusty, dry, or contaminated edge. Do not assume a successful test on one construction validates every pane.
Clean the full pane and inspect it dry
After residue removal, perform the approved routine glass cleaning to remove solvent, softened adhesive, fingerprints, and surfactant. Dry the frame and clear compatible drainage. Inspect with broad and raking light from normal positions.
Classify remaining marks as adhesive, paper fiber, scratch, coating change, chemical haze, mineral, or between-pane condition. Solvent can temporarily hide adhesive and water can hide scratches. The dry inspection is the only reliable closeout.
Choose the next temporary attachment better
Use a product designed and warranted for the specific glass, exposure, removal period, and temperature. Keep its product name, lot, installation date, required removal date, and removal bulletin. Do not bridge gaskets or sealant unless the manufacturer approves it.
For a long outdoor campaign, a mechanically mounted sign, static-cling product, or purpose-designed removable adhesive may create less risk than ordinary packing tape. Test the actual system on the actual window before installing it across a facade.