How to clean window frames, gaskets, and sealants without damaging the assembly
Identify each finish and flexible component, remove dry soil first, test compatible methods, protect drainage paths, and know when a mark is material change rather than dirt.
The glass cleaner does not get to choose for the whole window
A window is a small assembly of unlike materials. The pane may sit beside painted aluminum, vinyl, finished wood, anodized metal, rubber-like gaskets, pile weatherstrip, silicone sealant, plated hardware, and a concealed drainage path. A solution that behaves well on bare glass can discolor a finish, swell an elastomer, soften an adhesive, or carry dirty water into a wall joint.
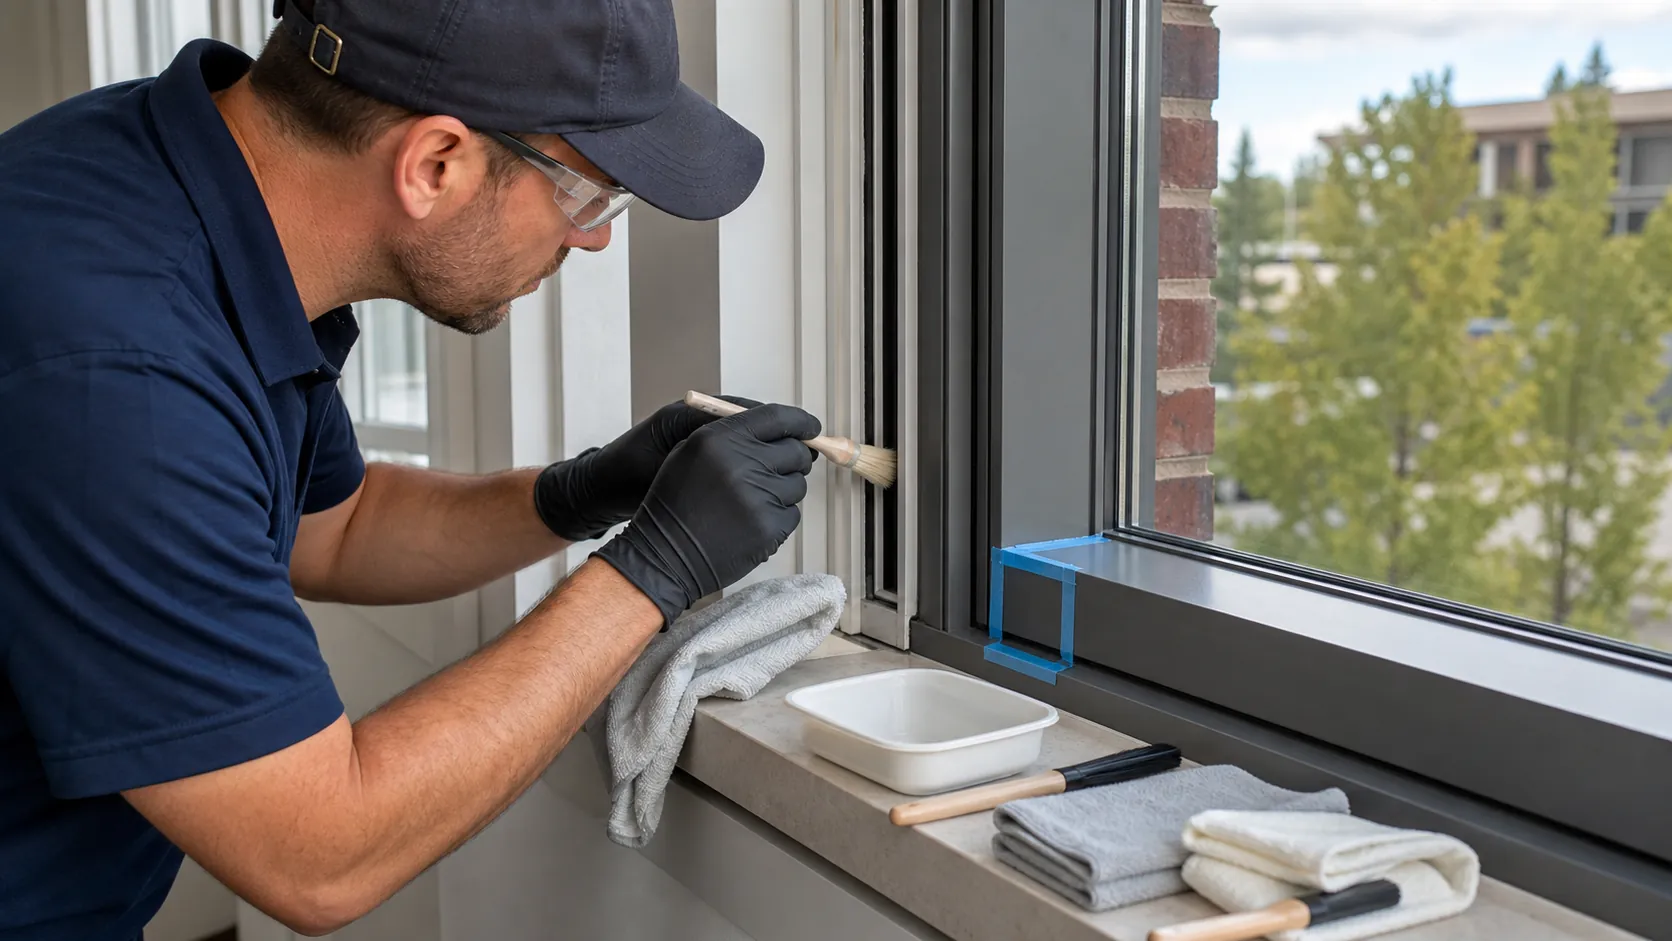
The safest starting point is identification, not stronger chemistry. Find the window manufacturer or system records when possible. Note which surfaces are exposed, which are coated, and which parts move or retain the glass. Manufacturer care instructions override a general cleaning habit.
Map the parts before they are wet
Walk the opening with good light and name what you can see. A gasket is not automatically the same material as a weatherstrip. A dark line may be a cured sealant edge, a removable glazing bead, a pressure plate cap, or accumulated soil. Do not pull at it to find out.
- Frame and sash: record the substrate and visible finish, including chalking, oxidation, worn paint, exposed wood, or corrosion.
- Glazing components: locate gaskets, setting blocks that are actually visible, beads, caps, sealant joints, and any exposed coating edge.
- Operating parts: identify locks, balances, hinges, rollers, operators, and manufacturer lubrication points.
- Water management: locate sill channels, weep holes, covers, end dams, and joints that should not be flooded.
- Accessories: note screens, applied film, shades, storm panels, sensors, alarms, and nearby porous finishes.
Photograph an existing split gasket, loose sealant skin, failed coating, or stained joint before cleaning. Water can make old damage look new, and a photograph keeps that discussion factual.
Remove loose soil without making mud
Vacuum tracks with a soft attachment or lift debris with a clean brush before introducing liquid. Sand, insect remains, plant matter, and deteriorated foam become abrasive slurry when soaked. Hold the nozzle away from fragile pile weatherstrip and small drainage covers so they are not pulled out.
Use one set of cloths and brushes for frames, another for glass, and a separate detail tool for greasy hardware. That division prevents oxidized frame residue or grit from returning to the pane. It also shows which surface is releasing color. If a white cloth picks up the frame finish itself, stop and reassess rather than polishing through it.
Test the mildest documented method
Read the window maker's current care instructions and the cleaner label. Test a small inconspicuous area with the planned concentration, contact time, agitation, rinse, and drying method. A spot test is incomplete if it checks only color while the surface is wet. Let it dry and inspect for gloss change, tackiness, whitening, swelling, streaking, or residue.
Keep the test small enough to control. Apply solution to the tool when that prevents uncontrolled runoff. Do not mix cleaners, and do not assume that a product described as natural, household, or glass-safe is compatible with every paint, sealant, coating, or plastic.
Match the method to the visible material
| Area | Practical first approach | Reason to stop |
|---|---|---|
| Painted or factory-finished metal | Soft cloth or brush, limited compatible solution, prompt rinse and dry | Color transfer, softening, blistering, chalk released as finish rather than soil |
| Anodized aluminum | Remove loose soil, use the manufacturer's approved mild method, avoid abrasive pads | Uneven sheen, dark rub marks, corrosion products, unknown field-applied coating |
| Vinyl or composite frame | Soft nonabrasive tool and product-approved cleaner | Gloss change, whitening, solvent odor, crazing, sticky surface |
| Finished wood | Minimal moisture on a wrung tool, immediate drying, protection of open joints | Failed finish, exposed fibers, swelling, dark water entry, loose veneer |
| Track and sill pocket | Vacuum first, then controlled wiping toward an accessible collection point | Water disappears into wall cavity, blocked weep cannot be cleared by its service procedure |
| Hardware | Wipe rather than soak; follow product instructions for service or lubrication | Corrosion, binding, missing fastener, damaged electrical or security component |
Oxidation, chalking, corrosion, failed clear coat, and UV-faded plastic are changes in the material. Cleaning may reveal them more evenly, but it cannot restore missing finish. Agree on that boundary before expanding a successful soil-removal test.
Treat gaskets and weatherstrip as working parts
Flexible components maintain contact, shed water, limit air movement, or cushion glass. Scrubbing until they look uniformly black can remove a surface treatment or abrade an aged part. Wipe gently with a compatible method, support loose sections, and keep sharp tools away from corners and splices.
Do not use one manufacturer's named weatherstrip cleaner as a universal recipe. Elastomer families and surface treatments differ. If the part is shrunken, cracked, gummy, permanently compressed, detached, or leaving material on the cloth, cleaning has become a service question. Record the profile and location so the correct replacement can be evaluated.
Do not mistake sealant bleed for ordinary grime
A cured sealant joint may collect dust at its edge. It may also release plasticizer or show incompatible-material staining. The symptoms can look alike: a dark halo, oily smear, or recurring streak. Aggressive solvent wiping can spread the condition, alter the sealant skin, or damage the adjacent finish.
Clean only the exposed surface by a method accepted for the actual sealant and surrounding substrates. Do not trim, peel, puncture, or reshape a joint as part of routine washing. Open seams, adhesion loss, bubbles, tears, and persistent bleed should be documented for the glazing or sealant contractor.
Control water around the sill
Weep systems are designed drainage paths, not high-volume rinse ports. Keep their visible openings free of loose debris, but do not remove covers or force wire, compressed air, or pressure spray into concealed chambers unless the product service procedure calls for it. Flooding can drive soil past end dams, wet wood, or reveal an existing wall leak in the worst possible way.
Work in short sections. Catch runoff before it crosses masonry, fabrics, painted walls, or lower glazing. Dry corners, hardware pockets, and interior sill surfaces. If water backs up, disappears behind the frame, or emerges somewhere unexpected, stop and investigate drainage rather than adding more water.
A useful cleaning order
- Confirm the product, finish, condition, access, and drainage route.
- Protect nearby porous and sensitive materials.
- Remove screens or movable panels only through the correct product sequence, then label them.
- Vacuum or brush loose dry debris.
- Run a small compatibility test and inspect it dry.
- Clean the upper frame and vertical members with controlled moisture.
- Clean the glass without carrying frame residue across it.
- Finish the sill, tracks, accessible weeps, and hardware, collecting rather than flooding.
- Dry the assembly, operate it where appropriate, and confirm that locks, panels, and drainage covers remain engaged.
For a full exterior scope, a professional window-cleaning plan should record exceptions by opening. That is more useful than promising that every dark line will disappear. Some are soil; others are the window telling you that a finish or component needs service.