Professional glass scratch removal
How technicians assess scratch depth, choose a correction path, refine abrasive marks, polish for clarity, control heat, and limit optical distortion.
Removing a scratch means removing glass
A scratch is a groove or disrupted area in the surface, not a deposit sitting on top. Polishing compound cannot fill it permanently. To remove the visible defect, a restoration process reduces the surrounding surface toward the bottom of the damage, refines the new abrasive pattern, and polishes that area back to useful clarity.
That physical fact explains both the possibility and the risk. Controlled material removal can improve many light, medium, and some deeper scratches. Excessive or uneven removal can create haze, a lens-shaped depression, distorted reflections, heat stress, or breakage. The correct first step is assessment, not the coarsest disk available.
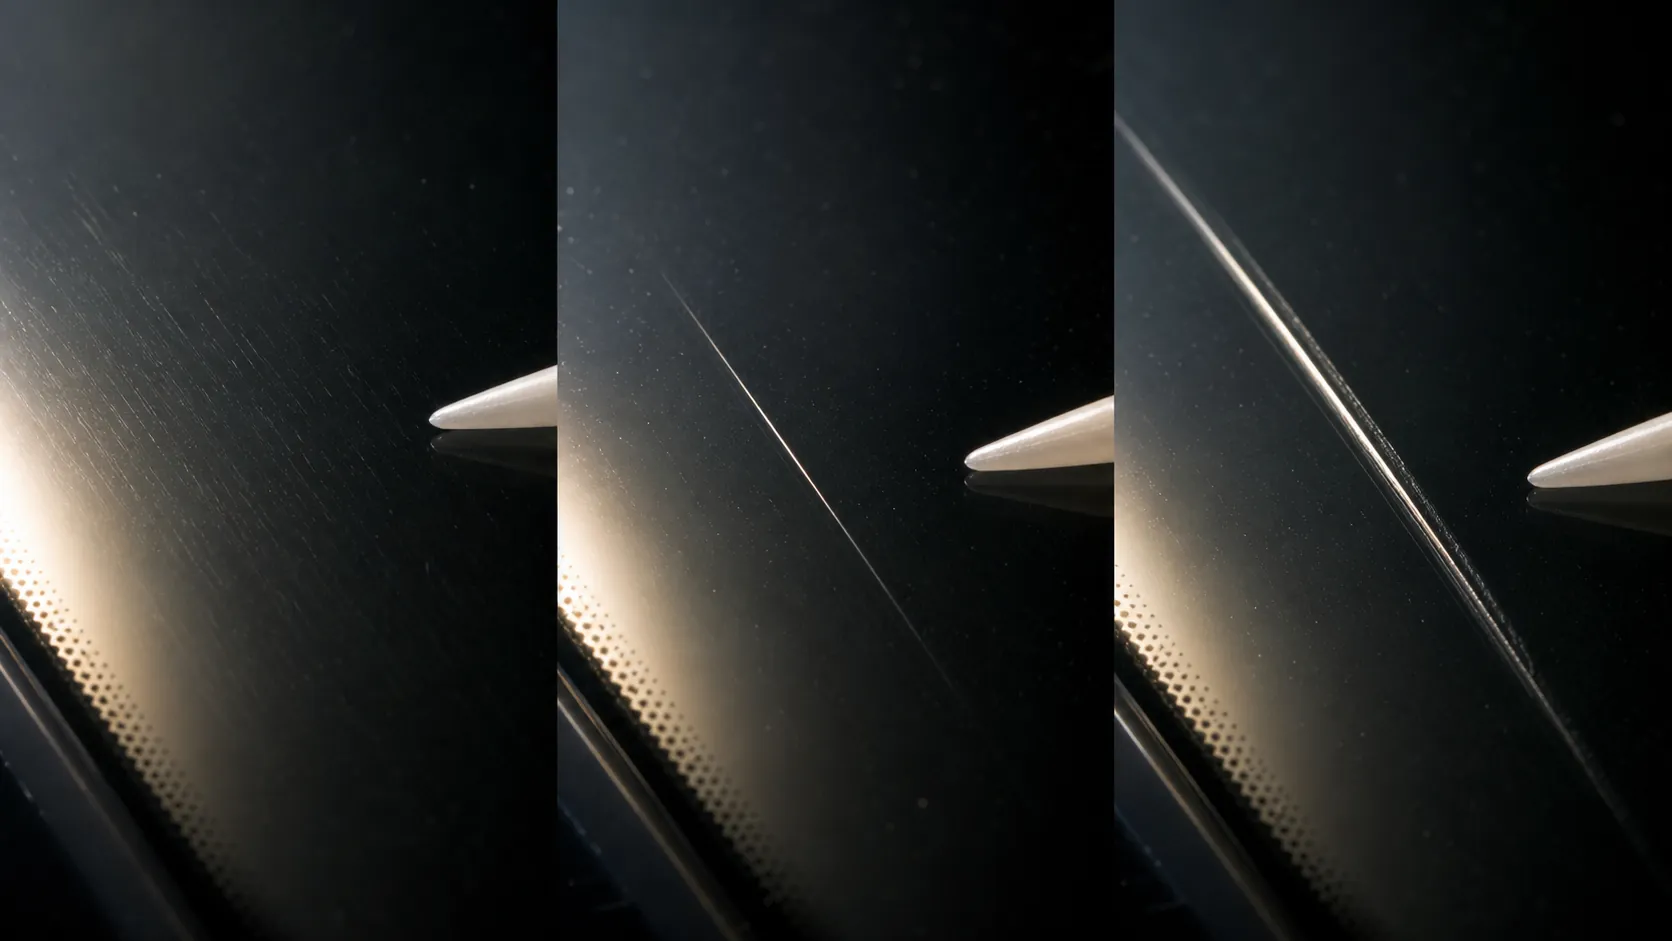
Confirm that the mark is on the exposed glass
Clean the pane with a compatible routine method and inspect it dry. Adhesive trails, metal transfer, mineral scale, coating damage, a mark on the opposite face, and a defect inside laminated or insulating glass can resemble a scratch from one angle. A restoration tool on the wrong face will not reach the condition.
Identify the glazing as far as practical. Record safety marks, labels, pane construction, film edges, reflective behavior, Low-E clues, decorative treatments, and previous restoration. Razors, abrasives, and polishing systems can permanently damage an exposed coating or aftermarket film. If the surface construction remains uncertain, obtain product information or use a controlled identification test before abrasion.
Inspect the full perimeter for cracks, chips, shelling, edge damage, hard contact, loose gaskets, failed sealant, and frame movement. Scratch polishing is not a structural repair. Damage that reaches or weakens an edge changes the question from appearance to glazing safety.
Depth assessment uses several observations
A fingernail that catches can confirm that a groove has meaningful relief, but it does not measure depth or prove that the pane is restorable. A fine scratch can look severe in grazing sun, while a deeper scratch can disappear from a particular reflected angle. Use several observations and record them.
- View the clean, dry pane in transmitted, reflected, and grazing light.
- Move the viewpoint so the mark crosses straight reflected lines or a regular background.
- Trace the length, direction, density, intersections, and distance from the glass edge.
- Use a removable reference beside the damage and photograph from fixed positions.
- Check whether the mark catches a clean fingernail with minimal pressure, but do not turn that check into a numeric depth claim.
- Note isolated deep points, because the deepest point can determine how much surrounding glass a full removal would require.
A practical map separates broad light scuffing from individual grooves and from chips or cracks. It also prevents the operator from chasing one defect outside the planned correction area.
Choose between polish-only, one-step correction, and progressive abrasion
| Observed condition | Possible test approach | Decision boundary |
|---|---|---|
| Transfer, residue, or very fine surface haze | Least-aggressive cleaning or compatible polish test | Stop if the mark is a coating change or does not respond as surface residue |
| Light to medium scratch | A manufacturer-approved one-step or fine correction system may be sufficient | The test must show removal without residual abrasive pattern or unacceptable optics |
| Deeper groove | Progressive micro-abrasive correction followed by refinement and polishing | Material removal and distortion risk rise; full removal may not be the best outcome |
| Chip, crack, edge damage, coating loss, or internal defect | Glazing assessment rather than ordinary scratch polishing | Do not represent cosmetic polishing as structural correction |
Manufacturer systems define which disks, compounds, backing pads, speeds, water feed, and transitions belong together. Mixing an abrasive from one process with a polish from another without technical validation makes the result harder to reproduce and the failure harder to diagnose.
Build a representative test panel
Select an area with the common scratch depth and density, not merely the easiest light mark. Agree on the viewing distance and acceptance condition. Record the original glass temperature, lighting, tool setup, abrasive sequence, pass pattern, water or slurry control, time, and final result.
The test should be large enough to reveal optical change. A tiny bright spot can look clear while hiding a local depression that becomes visible only across a wider reflection. Keep an untreated reference beside the panel and inspect both after the glass is clean, dry, and near a stable temperature.
Correction removes the original groove
At the correction stage, the selected abrasive creates a controlled, uniform pattern while lowering the surrounding surface. The tool must stay flat and move through an organized path. Dwelling on the visible line alone digs a narrow trough and increases the chance of lensing.
Work an area around the scratch rather than tracing it like a pencil. Keep the contact patch, pressure, tool speed, water feed, and pass overlap consistent with the system instructions. Inspect frequently. The original scratch must be removed at the correction step before moving forward; polishing later will not erase a deep groove that still remains.
Use only as aggressive a step as the test shows is necessary. Starting too coarse creates a deeper artificial pattern that every later stage must remove. Starting too fine on a deep defect can add heat and time without reaching the bottom.
Refinement removes the previous abrasive pattern
Each finer step has one job: replace the preceding scratch pattern with a shallower, more uniform pattern. Clean the glass, tool, pad, and nearby masking between stages so a coarse grain does not return during a finer pass. Contaminated slurry can leave random scratches that are difficult to distinguish from the original damage.
Change pass direction when the manufacturer uses that method, and inspect in useful light before advancing. If the earlier pattern remains, repeat or correct that stage. Skipping ahead usually leaves haze that becomes visible after final polishing.
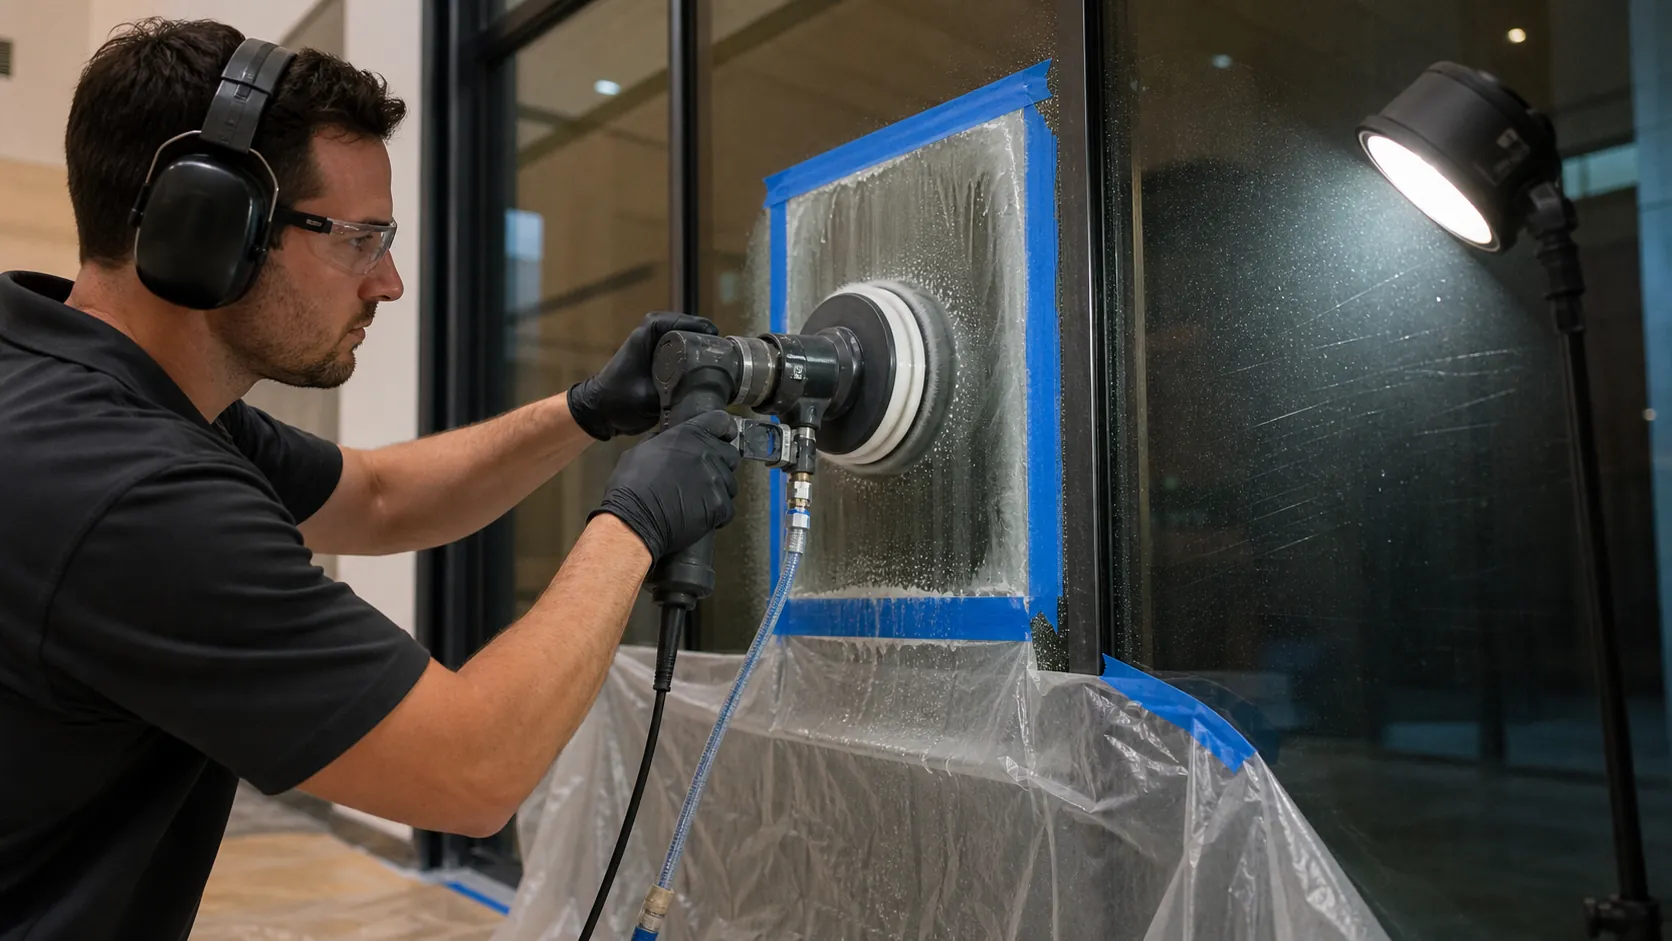
Polishing restores optical clarity
The polishing stage refines the final micro-abrasive pattern and restores transparency and surface finish. It does not substitute for incomplete correction. Use the specified polishing medium, pad condition, moisture, speed, and cleaning procedure. Dried compound at an edge or contaminated polish can reintroduce haze and marks.
Clean and dry the pane fully before judging it. Water and compound can temporarily fill fine scratches. Inspect from the normal viewing position, then move across transmitted and reflected light. Straight building lines, mullions, and regular interior patterns help reveal local magnification or movement.
Heat control is continuous
Friction creates heat during abrasion and polishing. Sun exposure, dark adjacent frames, reflected facade heat, tool speed, pressure, contact area, water supply, and dwell all change the temperature. Measure a baseline and monitor throughout the process using the restoration-system guidance. Be aware that instrument setup and glass surface properties affect readings; use a consistent method and do not rely on touch.
Avoid holding the tool in one location. Maintain the specified water or slurry condition and pause when temperature rises unexpectedly. Local heating is especially concerning near edges, existing chips, hard frame contact, shaded-to-sun transitions, and insulating units with unknown edge condition.
Distortion comes from geometry, not only poor final polish
When a deep scratch is removed from a very small area, the surface can become a shallow lens. The glass may look transparent head-on yet bend reflections when the observer moves. A broader, feathered correction area can reduce an abrupt optical transition, but it also removes material from a larger region. There is no technique that removes depth without changing geometry.
This tradeoff should be discussed before deep correction. A less visible residual scratch may be preferable to a clear but distorted zone. On prominent facade glass, mockups viewed from normal interior and exterior positions are essential.
Stop rather than chase the defect
Stop for a crack, changing chip, edge instability, unexpected coating response, rising temperature, new haze that does not refine, uncontrolled slurry, tool chatter, or optical movement beyond the accepted test. Also stop when the amount of removal needed to reach the deepest point exceeds the agreed distortion or cost boundary.
Replacement may be more appropriate for structurally damaged glass, failed insulating units, widespread coating loss, severe edge conditions, or a deep defect in a critical viewing area. The fact that an abrasive can touch the mark does not mean restoration is the right scope.
Document the finished pane
- Clean away compound and inspect the dry glass in the agreed viewing conditions.
- Compare the work with the approved test panel and untouched reference.
- Record remaining defects, optical change, treatment boundaries, and any pre-existing damage.
- Photograph from the same fixed positions used before work.
- Provide compatible maintenance instructions so later cleaning does not damage the restored surface.
A careful glass scratch-removal scope defines the intended improvement and the acceptable residual condition. It does not promise invisible repair under every light or convert cosmetic work into a warranty against glass failure.