Building a glass-restoration test panel
How to select, document, process, and inspect a representative test area before committing an entire pane or elevation to restoration.
A test panel is a small production trial
Glass restoration changes a surface through controlled chemistry, abrasion, or polishing. A test panel shows how a proposed process behaves on the actual glass, damage, access, temperature, and viewing conditions of a project. It is not a polished sample brought from somewhere else and it is not an informal spot rubbed until it looks better.
The panel should answer a written question: Can this condition be improved to an agreed level without unacceptable haze, distortion, coating change, edge risk, or damage to adjacent materials? A useful test also records enough detail to repeat the process.
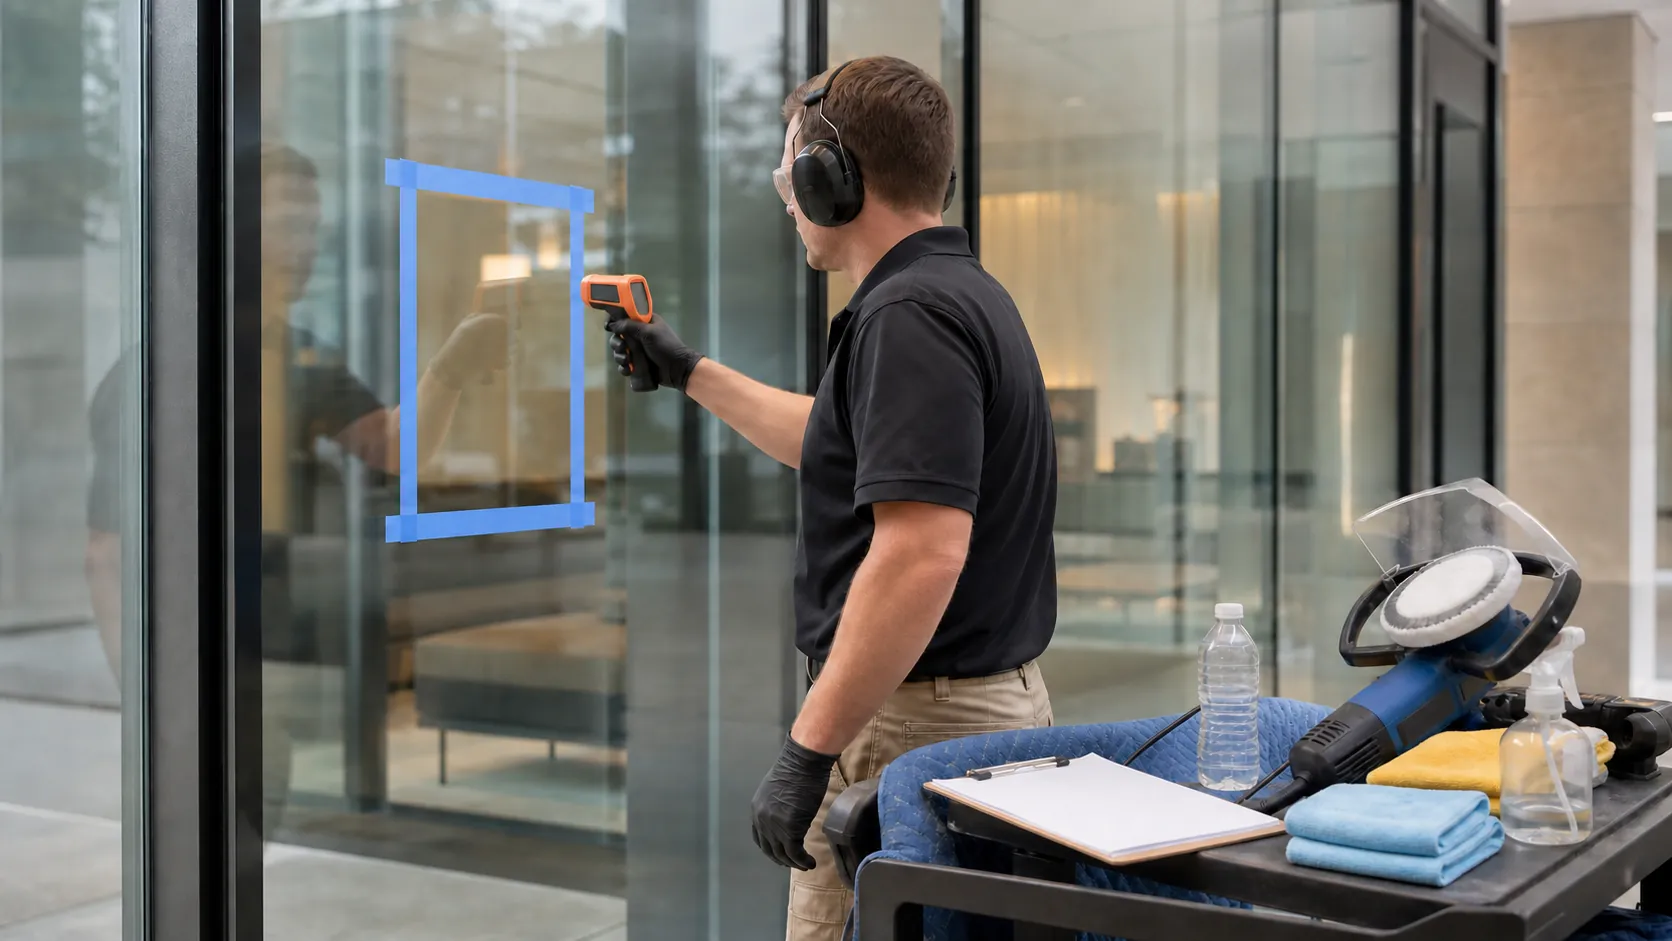
Decide what the test is meant to prove
A mineral-deposit test, a scratch-removal test, and an acid-damage polishing test need different products, equipment, and acceptance criteria. Write down the observed condition and the proposed outcome before touching the glass. If the condition has not been identified well enough to choose a process, the first test should be diagnostic and least aggressive.
| Question | Why it belongs in the test plan |
|---|---|
| What condition is being treated? | Separates removable contamination from altered glass, coating damage, internal fog, cracks, or edge defects |
| What improvement is expected? | Defines whether the target is deposit removal, reduced scratch visibility, improved clarity, or simply feasibility data |
| How will the result be viewed? | Establishes normal viewing distance, direction, lighting, and any close technical inspection |
| What must not change? | Identifies limits for reflection, transmitted view, optical distortion, coating, frame finish, sealant, and adjacent stone or metal |
| What stops the work? | Prevents the operator from continuing through heat, haze, optical change, edge concern, or an unstable glazing condition |
Inspect the glazing system first
Record the pane location, approximate dimensions, orientation, sun exposure, accessible faces, and whether the glass is monolithic, laminated, or part of an insulating unit when that can be established. Look for safety marks, labels, coating clues, film edges, decorative treatments, and manufacturer information. Uncertainty belongs in the record.
Inspect the complete perimeter. Chips, cracks, edge damage, failed gaskets, loose stops, deteriorated sealant, frame movement, and contact between glass and hard material can change the breakage risk. A small clear area in the center does not make an unstable glazing system suitable for restoration.
Photograph the pane dry before work. Use a full view, a medium view, and close details from fixed positions. Include a scale or removable marker beside the damage without placing adhesive on a sensitive surface. Photograph reflected and transmitted conditions when both reveal useful information.
Choose a representative location
The easiest corner is not always representative. Select an area with the common damage density and severity, similar exposure, and enough room to operate the proposed tools. Avoid hiding the panel behind furniture or placing it directly over a pane edge unless edge treatment is itself part of the question.
Agree on the location with the owner, contractor, or project representative. Mark the boundary on adjacent masking or use a documented measurement from the frame. Preserve an untreated strip beside the panel so the original condition remains available for comparison.
A successful square does not prove that every pane is identical. Different elevations may have different glass, coatings, construction dates, sprinkler exposure, temperatures, or prior cleaning history. Large projects often need more than one test family.
Record the process, not only the product name
A repeatable record should include the product or abrasive system, lot or grit where relevant, tool and pad, machine speed setting, pressure or operator technique, water feed, dwell time, number and direction of passes, test dimensions, starting and observed temperatures, rinse method, and elapsed work time.
For chemical deposit removal, document dilution, application, agitation, dwell, temperature, neutralization or rinse, and control of adjacent materials. For abrasive restoration, document the progression rather than writing only "polished." Two operators can produce very different results with the same brand of disk if heat, contact area, pass pattern, water, and step transitions are not controlled.
- Clean loose surface soil with a compatible routine method.
- Mask or protect frames, sealants, stone, metal, and finished interiors as required.
- Measure the starting condition and glass temperature.
- Process only the defined area, keeping tools and residue inside the control plan.
- Monitor temperature, sound, slurry, tool behavior, and optical change throughout the work.
- Rinse and clean away all process residue using a compatible method.
- Let the area dry and return to a stable temperature before final judgment.
Stop conditions belong in the plan
Stop when temperature rises outside the equipment manufacturer's limit or the project's conservative threshold, the pane develops unexpected haze or optical movement, a coating or film appears exposed, a crack or edge concern becomes visible, slurry cannot be contained, or the glazing system moves under normal tool contact.
Also stop when the proposed steps do not refine the previous abrasive pattern. Continuing to polish a scratch that has not been removed at the correction stage wastes time and can expand distortion. Return to diagnosis rather than hiding the failed step under more compound.
Inspect the panel only after it is clean and dry
Residual water and polishing compound can temporarily fill fine marks. Clean the area, dry it fully, and inspect it beside the untreated reference. Use the agreed normal viewing position first, then examine with controlled reflected, transmitted, and grazing light. Record the lighting and distance so a later review is comparable.
Check more than clarity. Move the viewpoint across straight architectural lines and reflections to look for lensing or local distortion. Compare color and reflectance if a coating may be present. Inspect frames and sealants for staining or residue. Photograph from the same positions used before the test.
Convert the result into a scope
The final test note should state the achieved improvement, remaining defects, accepted viewing condition, process steps, average time, access assumptions, protected materials, stop conditions, and reasons the result may vary elsewhere. The owner can then decide whether the improvement justifies full glass restoration, a limited treatment, or replacement.
Keep the approved panel available as a field reference when possible. It is more useful than an adjective such as "clear" because both parties can compare production work with the actual accepted surface.