Screens, tracks, sills, and weep holes
A complete dry-to-wet workflow for removable screens, operating tracks, frame sills, drainage openings, safe reassembly, and leak clues that cleaning cannot correct.
The frame needs a different workflow from the glass
Glass can be wetted and squeegeed in one controlled sequence. A window frame contains corners, moving tracks, gaskets, hardware, screen clips, and drainage passages that hold debris. If all of it is flooded at once, dry dust becomes mud and moves into the parts that are hardest to reach.
Work from dry to damp and from removable components toward the fixed frame. The exact release points and drainage design remain product-specific, so begin with the manufacturer's owner information whenever it is available.
Set up before removing anything
- Identify how the sash or panel operates and whether the screen is interior, exterior, retractable, fixed, clipped, or captured in another track.
- Photograph unusual clip positions, panel order, drainage slots, and any existing bends or tears.
- Protect the floor and prepare a padded, stable place for each removed component.
- Mark panels by opening when several similar screens or storm panels will be handled.
- Vacuum visible loose debris before moving a sash repeatedly through it.
Support a screen frame with both hands. Pulling from one corner can rack a thin frame, stretch the mesh, or bend a tab. If normal release pressure does not work, stop and find the model procedure rather than prying against glass.
An insect screen is not a fall barrier. Pella and other manufacturers explicitly warn that screens are not designed to retain children or pets. Treat every open window as an unprotected opening while the screen is out.
Clean the screen according to its construction
Begin with a soft brush or low-suction vacuum process that cannot pull the mesh from its spline. Support the opposite side when the screen is large. For a washable flat screen, use a mild compatible solution, a soft tool, and low-pressure rinsing. Let the panel drain and dry in a stable position before reinstalling it.
Do not scrub a retractable screen as though it were a removable fiberglass panel. Integrated rolls, tracks, tension components, pleated material, specialty coatings, and metal mesh have different instructions. Clean only what the manufacturer exposes for routine care.
| Condition | Likely action | Stop point |
|---|---|---|
| Loose dust and pollen | Soft brush or controlled vacuum, followed by compatible damp cleaning if needed | Mesh lifts from spline or the frame flexes |
| Greasy film | Test a mild permitted cleaner and rinse without high pressure | Color, coating, or mesh texture changes |
| Torn mesh or failed spline | Document for screen repair or replacement | Do not hide a structural screen defect with cleaning |
| Bent frame or broken clip | Match the correct part and opening | Do not force the frame into the window |
Remove dry track debris first
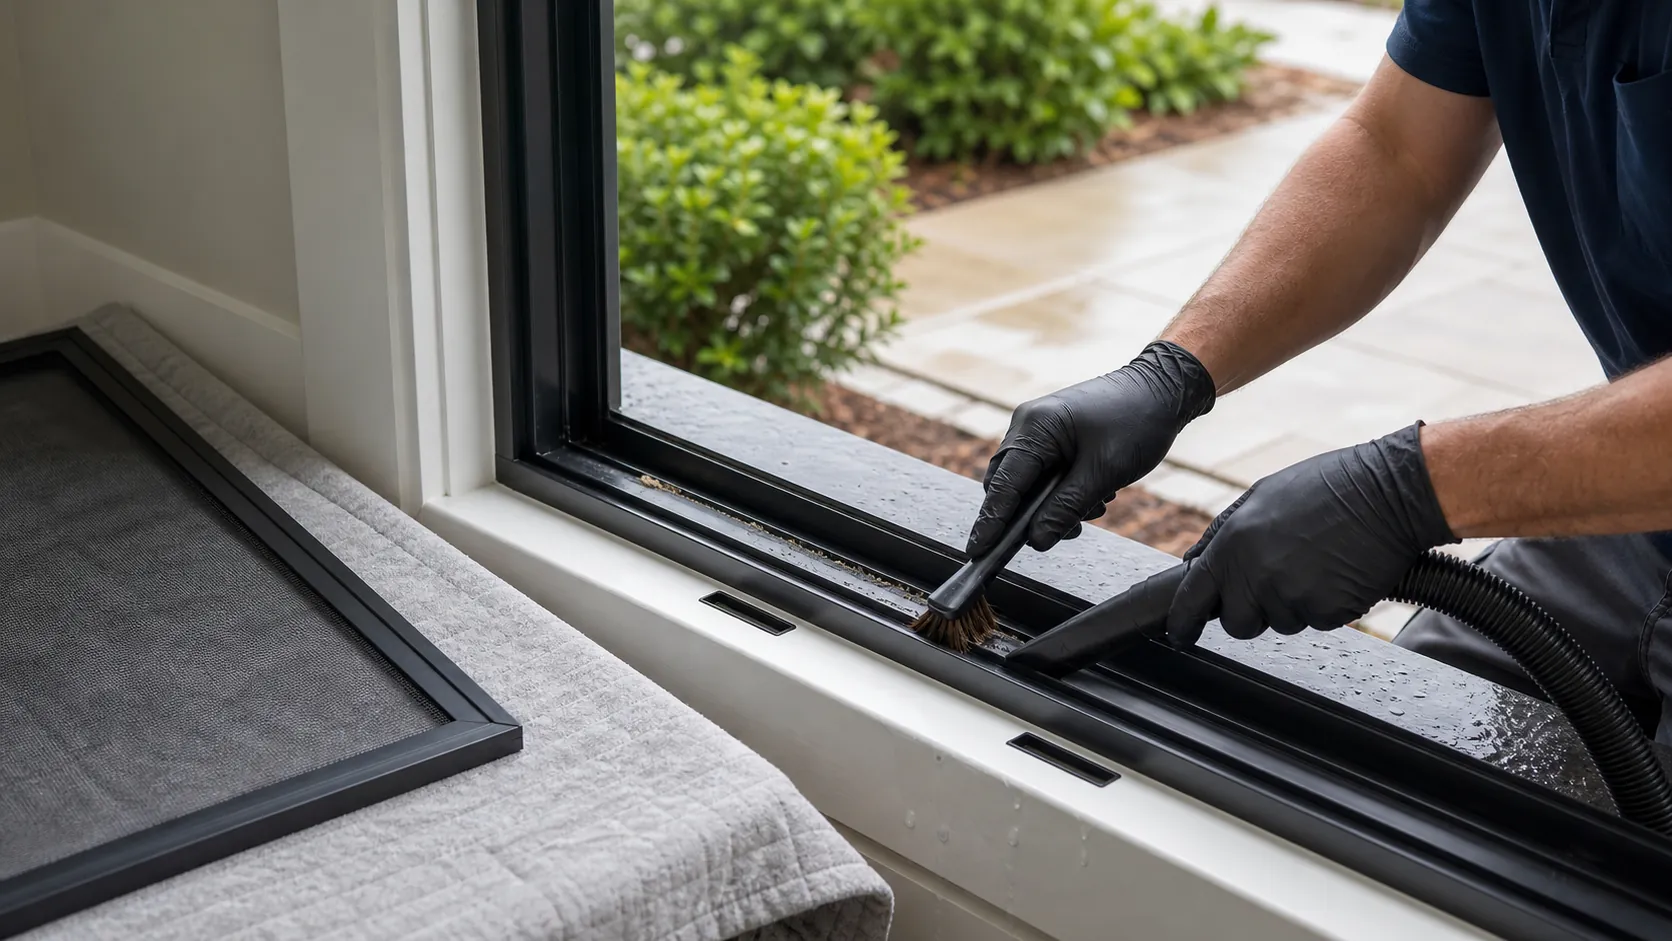
Open the window only as needed for access. Use a soft detailing brush to release material from corners while a narrow vacuum tool collects it. Keep hard nozzle edges away from finished frame surfaces. Loose stones, metal fragments, and construction debris should be lifted out rather than dragged through the track.
After the dry pass, wipe the track with a damp cloth or non-abrasive tool and the cleaner permitted for the frame finish. Work in sections so liquid does not disappear into balance channels, roller cavities, or wall joints. Cotton swabs and improvised sharp objects can leave fibers, scratch finishes, or puncture seals.
Track lubricant is not a universal finishing step. Some systems call for a specific dry lubricant, some for a different product, and others should simply remain clean. Oil and general-purpose spray can attract soil, affect plastics, and migrate onto glass or weather seals.
Clean sills without flooding the assembly
The sill may be flat, sloped, stepped, or built with several water-management chambers. Wipe from the interior side toward the intended exterior drainage side while controlling dirty solution. Clean gasket contact surfaces gently so grit does not interfere with compression when the sash closes.
Examine sealant, glazing beads, corner joints, fasteners, and finishes while the sill is visible. Cracked sealant, a separated corner, loose glass stop, corrosion, or swollen wood belongs in the condition record. More water can make these defects easier to see, but it does not repair them.
What weep holes actually do
Many window and door systems allow some water into an exterior sill or track and route it outside through weep openings. Pella notes that water accumulation can be normal in products designed with this drainage path. The openings may be on the inside and outside portions of the lower frame, and stacked units may have drainage locations between units.
Locate the actual openings before cleaning. They may look like slots, small holes, covered passages, or gaps beneath a baffle. Do not drill a new hole or enlarge one based on another window's layout.
- Remove loose surface debris around the opening.
- Use a small soft brush to clear accessible dirt, sand, or construction material.
- Vacuum released debris where it can be reached without inserting a hard tool deeply.
- Wipe the sill and exterior discharge area.
- If the manufacturer permits a drainage check, use a small controlled amount of clean water and observe the intended outlet.
High-pressure air or water can drive debris farther into a concealed chamber, dislodge a baffle, or send water into the wall. Wire can puncture an internal seal or scratch a coated drainage path. Use only a product-specific procedure for anything beyond the accessible opening.
A blocked drain is not the only cause of water indoors
Water can appear at a window because of failed perimeter sealant, missing flashing, an installation defect, a frame corner leak, a damaged gasket, wind-driven rain beyond the product rating, condensation, or water entering from another part of the facade. A clear weep hole does not rule out these conditions.
| Observation | What it may justify |
|---|---|
| Track drains slowly but no interior water appears | Clean accessible openings, compare with the owner manual, and monitor |
| Water remains after accessible drains are clear | Inspect hidden baffles and product-specific drainage through qualified service |
| Water appears above or beside the frame | Evaluate facade, flashing, sealant, and upstream sources instead of blaming the sill |
| Moisture forms on the room-side glass | Check indoor humidity and surface temperature before calling it a leak |
| Fog or droplets sit between sealed panes | Assess the insulating glass unit; track cleaning cannot reach the condition |
Reassemble and test gently
Return panels to the documented opening, orientation, and track order. Confirm that drain slots remain at the bottom, screen clips seat without bending, and no towel or debris is trapped beneath a sash. Operate the window through its normal travel without forcing hardware.
Finish the window-cleaning process by checking for trapped water, new drips, smooth operation, even gasket contact, and an unobstructed exterior discharge. Keep the photographs when a damaged component or leak needs repair follow-up.