How to clean pavers without washing out the joints
Identify the pavement system and joint material, treat stains before broad cleaning, control water and nozzle angle, then inspect the dry joints before deciding whether compatible material must be restored.
The joint is part of the pavement, not leftover dirt
A paver surface can look cleaner immediately after a hard wash and perform worse after the next storm. A narrow jet removes joint material, opens space for movement, leaves low channels that collect water, and can expose bedding. Replacing a little sand on top does not automatically restore the original system.
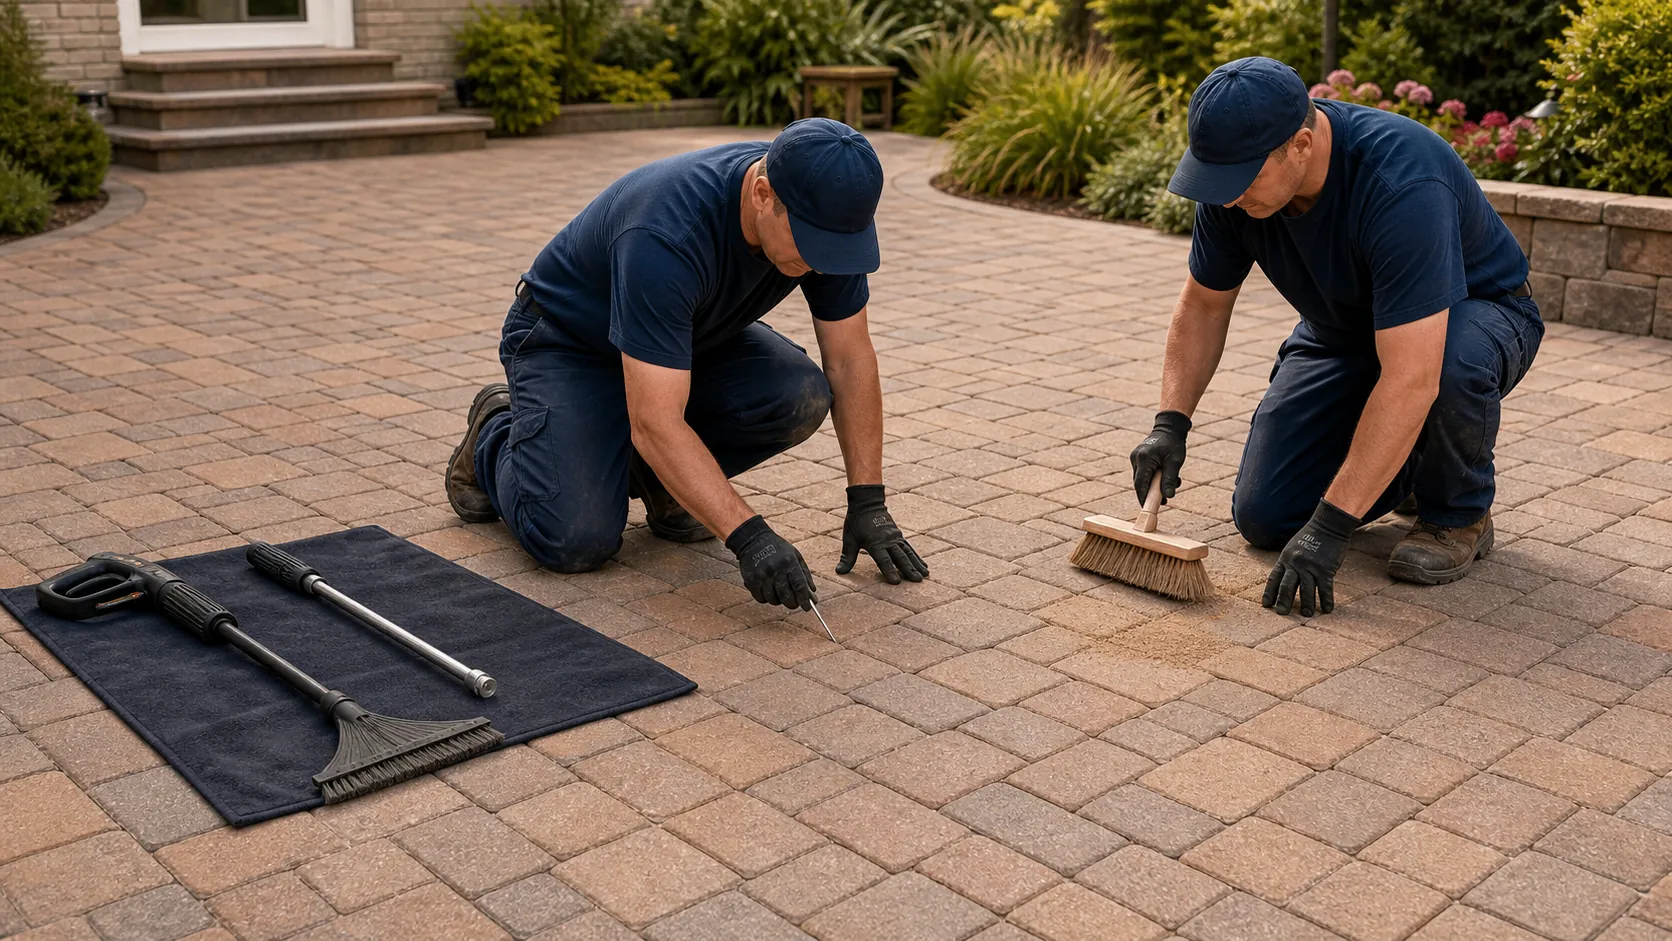
The safe cleaning method starts by identifying how the pavement was built. Joint width, material, drainage, edge restraint, paver composition, sealer, and stain source determine what can be cleaned and what must be repaired.
Name the system before choosing pressure
| Pavement type | Typical joint function | Cleaning concern |
|---|---|---|
| Sand-set interlocking concrete pavers | Aggregate-filled joints transfer load and help interlock the units | Direct jets can lower joints and disturb bedding or edge support |
| Polymeric or stabilized joints | Binder helps resist erosion after correct installation and curing | Wrong chemistry, close pressure, or partial replacement can fracture or soften the joint |
| Permeable interlocking pavement | Open joints with specified clean aggregate admit and store stormwater | Do not fill with ordinary sand; clogged aggregate may need specialized vacuum maintenance |
| Concrete slabs or large-format units | Joint design varies with product, bedding, spacers, and load | Large thin units and edges can chip or move under concentrated force |
| Clay brick or natural stone | Material may be sand-set, mortared, or installed on another assembly | Absorption, salts, mineral sensitivity, and surface texture require product-specific tests |
| Mortared or pedestal installation | Joints and drainage belong to a rigid or elevated assembly | Cracked grout, open membranes, pedestal gaps, and drains change the method completely |
Look for product records, installer notes, repair history, leftover bags, joint cross sections at an edge, and drainage drawings. Do not identify polymeric sand merely because the top feels hard. Old sealer, compacted fines, moss, and dirt can mimic a bound joint.
Map defects and measure joints before water arrives
Photograph settlement, rocking units, open edges, wheel ruts, missing joints, weeds, ants, loose sand, failed sealer, white deposits, and cracked pavers. Mark drains, planting beds, door thresholds, electrical equipment, basement openings, public paths, and every low point where dirty water can collect.
Measure joint depth at representative locations with a blunt gauge that will not excavate the material. Include traffic lanes, edges, slopes, downspout outlets, and an apparently sound control area. Record joint width and whether the fill is loose aggregate, fine sand, bound material, mortar, or an open permeable stone.
Rocking pavers, failed edges, severe settlement, missing bedding, or widespread joint loss are repair conditions. Cleaning will not compact the base or restore an edge restraint. Agree on repairs before a wash hides the starting condition.
Treat the stain, not the whole patio, with the strongest product
Identify oil, food grease, tire marks, rust, leaf tannin, algae, paint, efflorescence, atmospheric soil, and failed coating separately. Stop the source where possible. A cleaner suited to petroleum may not remove rust, and an acidic mineral cleaner can change cement color or attack a sensitive stone.
- Select a representative test area that includes paver face and joint.
- Review the cleaner label, safety data sheet, surface compatibility, dilution, dwell, temperature, and disposal instructions.
- Protect metal, glass, vegetation, coatings, adjacent stone, and occupants.
- Pretest drainage with clean water. Prevent cleaner and suspended sediment from entering prohibited drains or ponding against the building.
- Apply only to the stain zone, keep within the allowed dwell, and do not let the product dry unless its instructions require it.
- Agitate with a compatible brush or use the specified extraction method before adding pressure.
- Rinse under controlled flow, collect discharge as required, and let the test dry before judging color.
A wet paver hides both remaining oil and chemical lightening. Approval should be based on a dry test viewed from ordinary positions.
Use water as a transport tool
Start broad cleaning with the lowest effective combination of flow, temperature, chemistry, agitation, distance, and pressure accepted by the paver and joint manufacturers. More gallons per minute can move suspended soil at a lower impact than a close narrow jet, but the drainage plan must handle that water.
Keep a fan pattern moving at a shallow angle across the paver face. Avoid aiming into the joint, dwelling at corners, tracing individual joint lines, or using a zero-degree nozzle. Maintain a consistent standoff and overlap. A suitable surface cleaner can improve uniformity on some sound concrete-paver fields, yet its bar height, nozzle condition, swivel speed, edge behavior, and operator pace must be tested. It is not safe by name alone.
Work in sections that can be rinsed before cleaner dries. Direct suspended soil toward controlled collection, not back and forth through already clean joints. Reduce force near edges, steps, loose units, utility covers, drains, and transitions.
Stop when the pavement gives a warning
- joint material moves, foams, fractures, or drops rapidly;
- pavers rock, vibrate, chip, or expose aggregate unexpectedly;
- color changes outside the stained area;
- sealer turns white, tacky, patchy, or begins to peel;
- water disappears into an unknown void or enters the building;
- dirty discharge cannot be contained;
- the test produces stripes or a visibly different texture.
Do not solve joint erosion by holding the wand farther away while keeping the same narrow angle. Reconsider chemistry, agitation, flow, equipment, repair scope, or whether the surface should be pressure washed at all.
Inspect after full drying
When the field is dry, compare it with the control under similar light. Check stain reduction, color, texture, sealer condition, joint depth, loose particles, drainage, edge stability, and paver movement. Repeat the original measurements rather than estimating loss by eye.
Some sound sand-set pavements need compatible joint aggregate restored after cleaning. That is a defined maintenance operation, not a cosmetic dusting. Use the gradation and installation method required by the pavement or product manufacturer, fill to the specified elevation, compact as required, remove material from paver faces, and keep it out of drains.
Do not place new polymeric sand over an unknown, incompatible, wet, or partially failed joint and assume the binder will connect the layers. Product families specify excavation depth, moisture limits, compaction, sweeping, activation water, weather window, and curing. Permeable pavement needs its designed open-graded joint aggregate, not polymeric or ordinary joint sand.
Keep sealing separate from cleaning
Sealer is optional for some systems and unsuitable or tightly specified for others. It changes appearance, vapor behavior, slip, stain response, maintenance, and future removal. A joint stabilizer also has product-specific preparation and curing requirements. Neither corrects a failed base, moving edge, contaminated joint, or trapped moisture.
If sealing is proposed, make a dry appearance and compatibility sample after cleaning and repairs. Confirm moisture, efflorescence, old coating, joint cure, weather, application rate, and drainage. The decision should be written as a separate scope so a cleaning crew is not pushed into applying an untested coating before rain.